Embroidered chronicle · 11th century
The Bayeux Tapestry
c. 1070
An epic in wool and linen spanning nearly 70 metres. In twenty-one curated scenes, follow the rivalries, channel crossings and decisive battle that altered the fate of England.
In dialogue with the British Museum exhibition · Independent archive
On the occasion of the Bayeux Tapestry exhibition at the British Museum, this gallery presents the complete cycle in total independence, from open-access conservation scans, for study and contemplation.
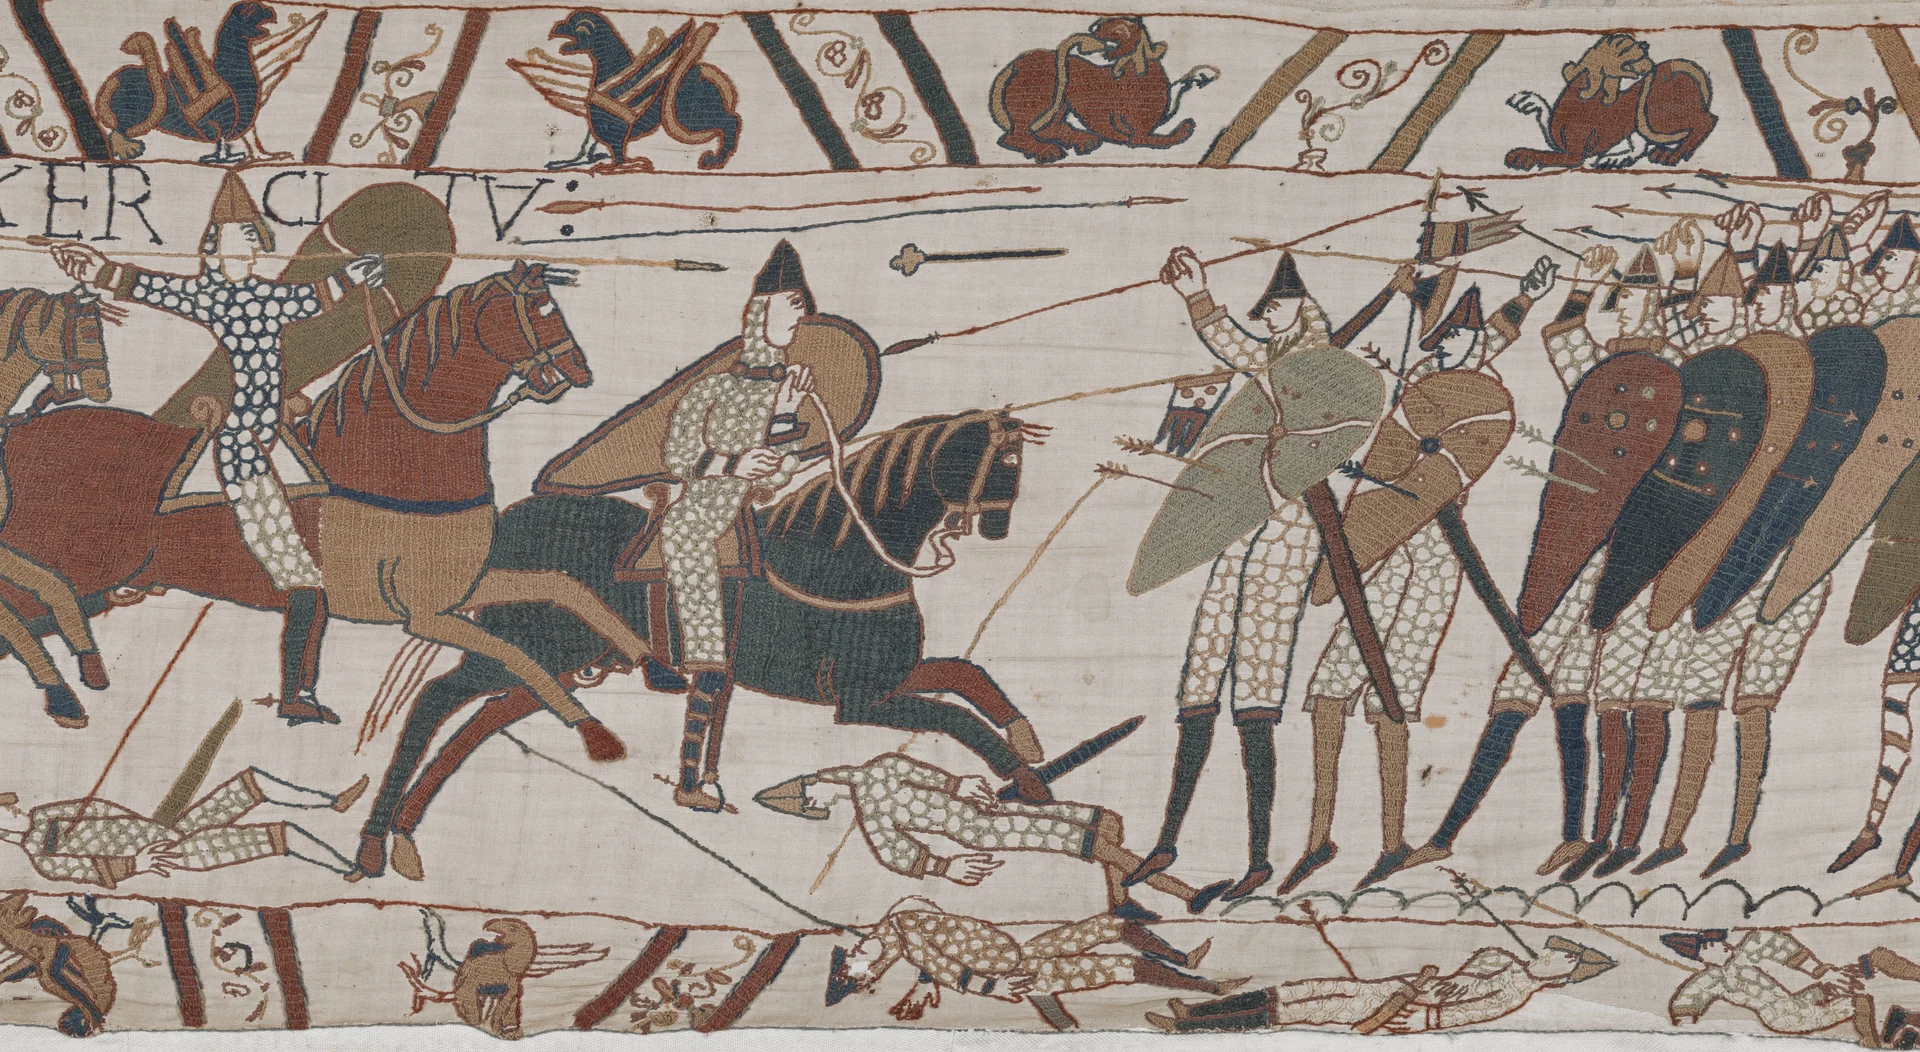
The complete story
Twenty-one scenes to explore
From the Palace of Westminster to the Hastings battlefield, the embroidery reads like one long tracking shot.
 SCENE 01
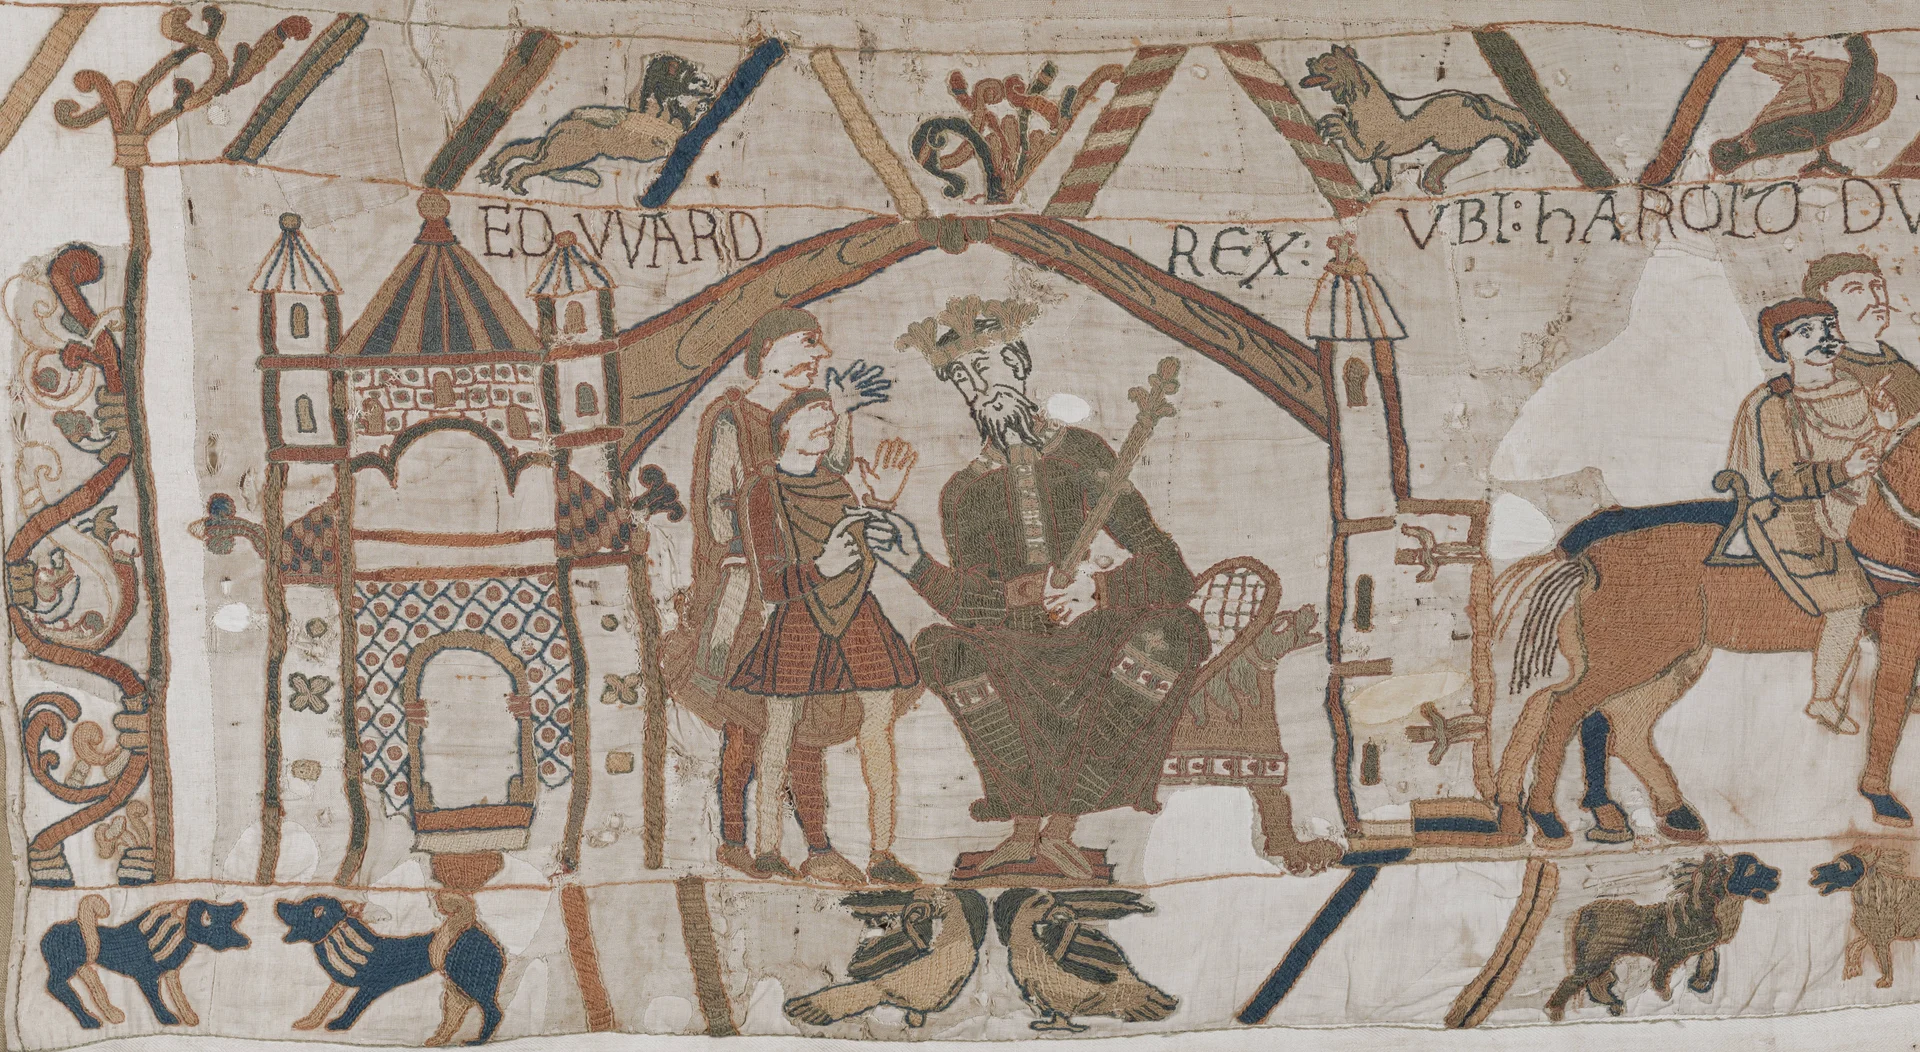
King Edward and Harold
At the Palace of Westminster, King Edward the Confessor confers with his brother-in-law Harold Godwinson, Earl of...
VIEW THE NOTICE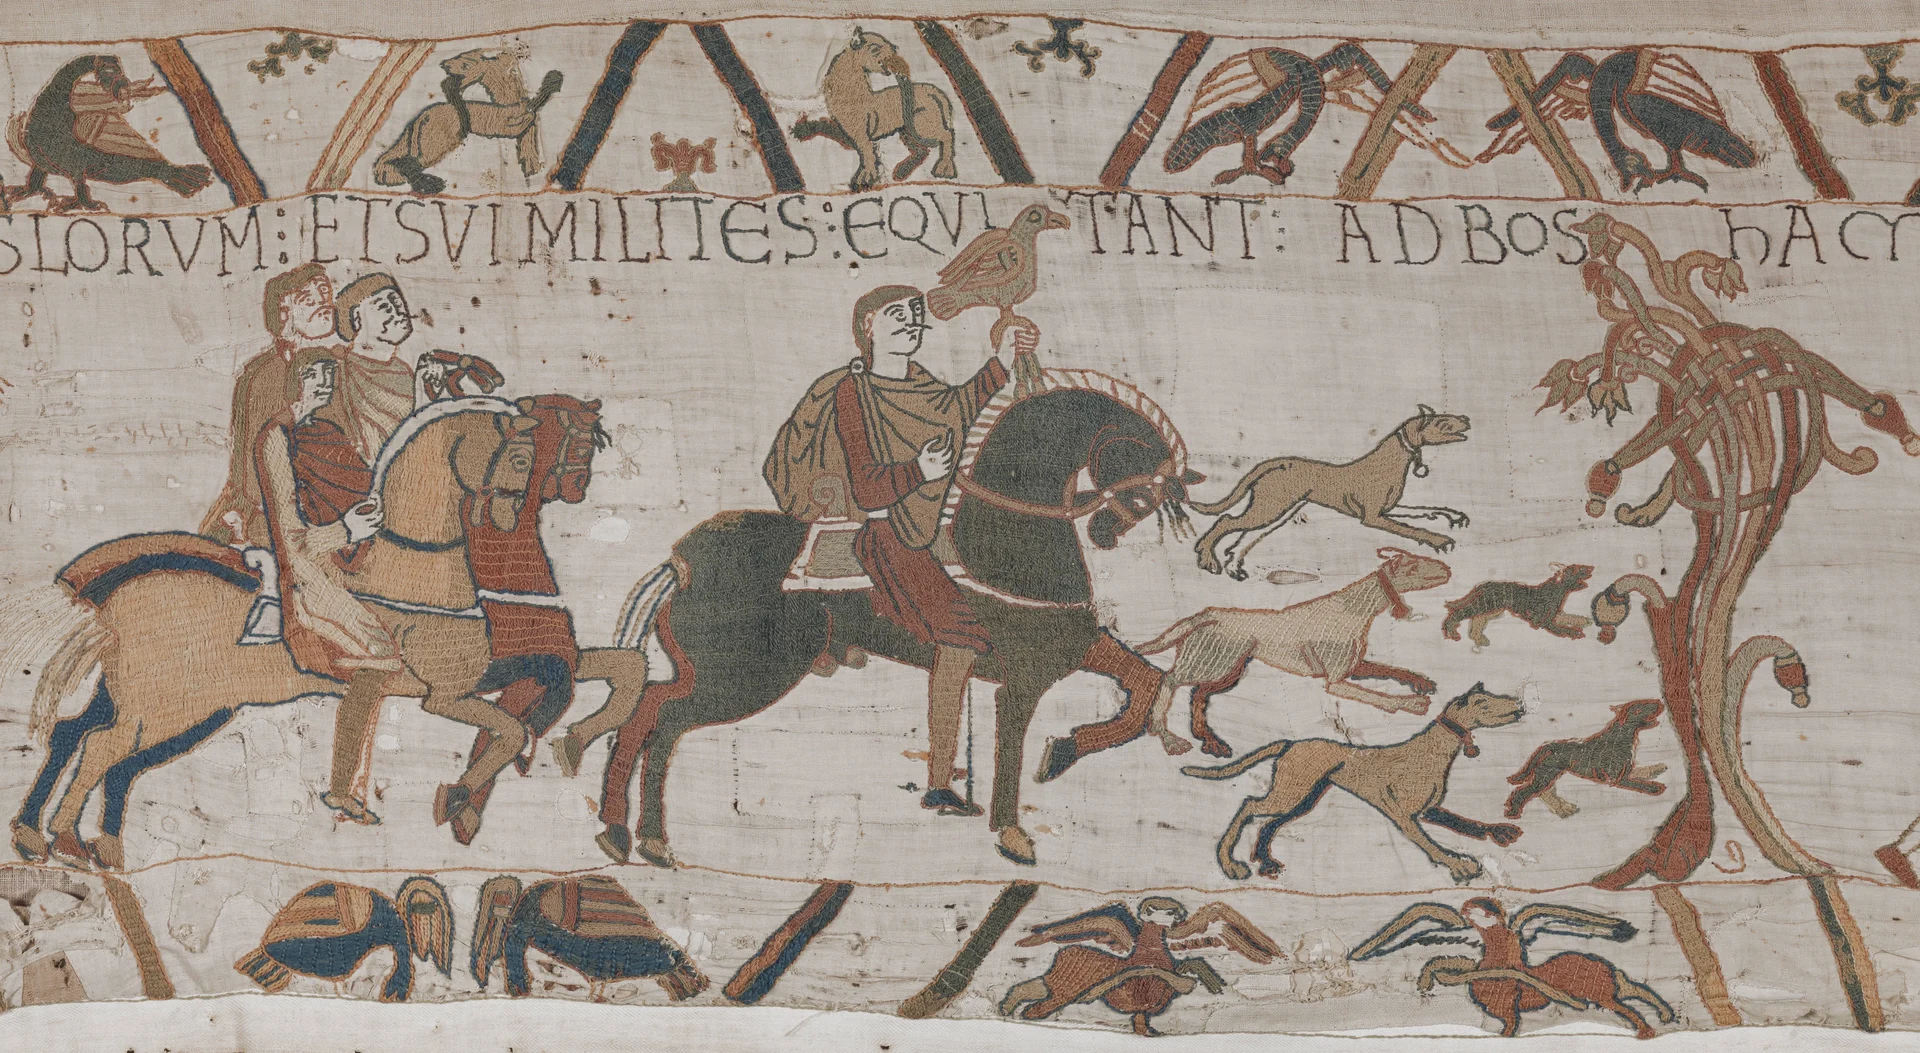 SCENE 02
Harold's Departure for Bosham
Harold and his escort of Saxon nobles ride across Sussex toward the coastal port of Bosham, accompanied by their...
VIEW THE NOTICE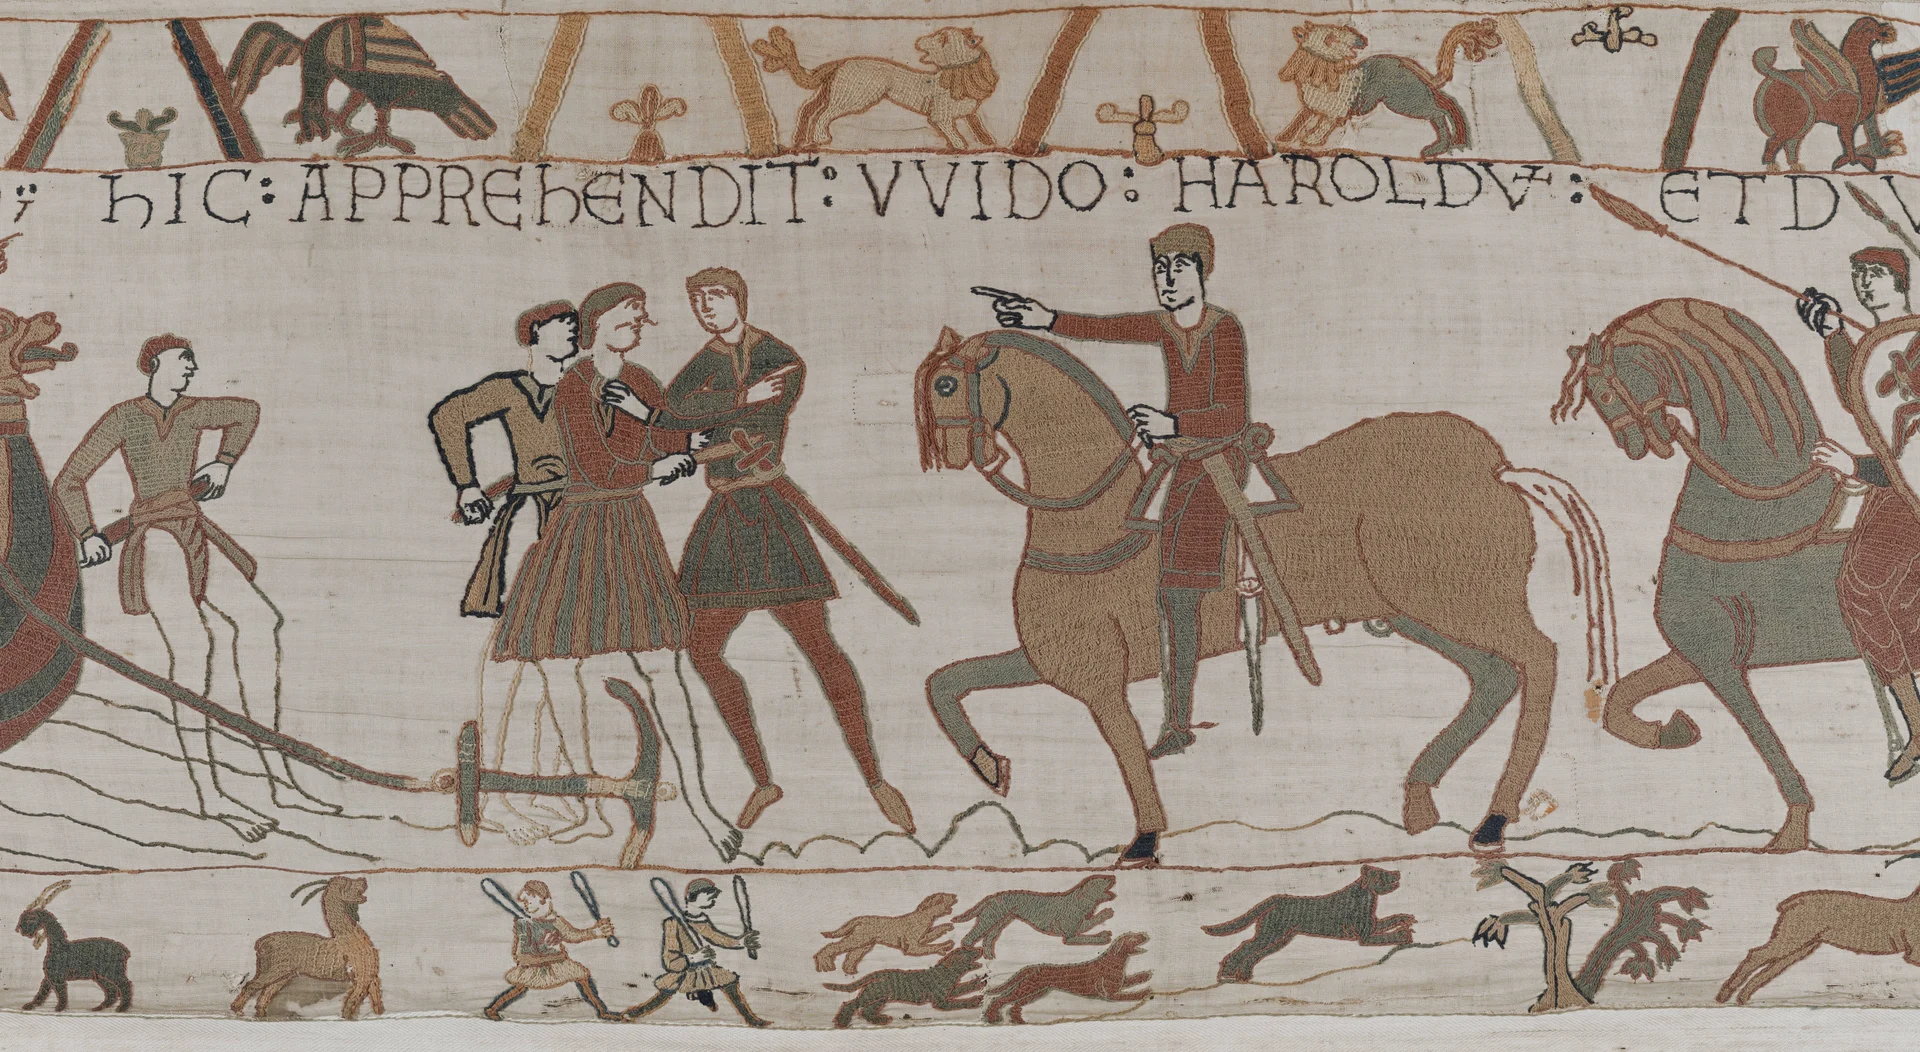 SCENE 03
Harold's Capture in Ponthieu
After crossing the English Channel, Harold's fleet is driven off course onto the hostile coast of Ponthieu. Upon...
VIEW THE NOTICE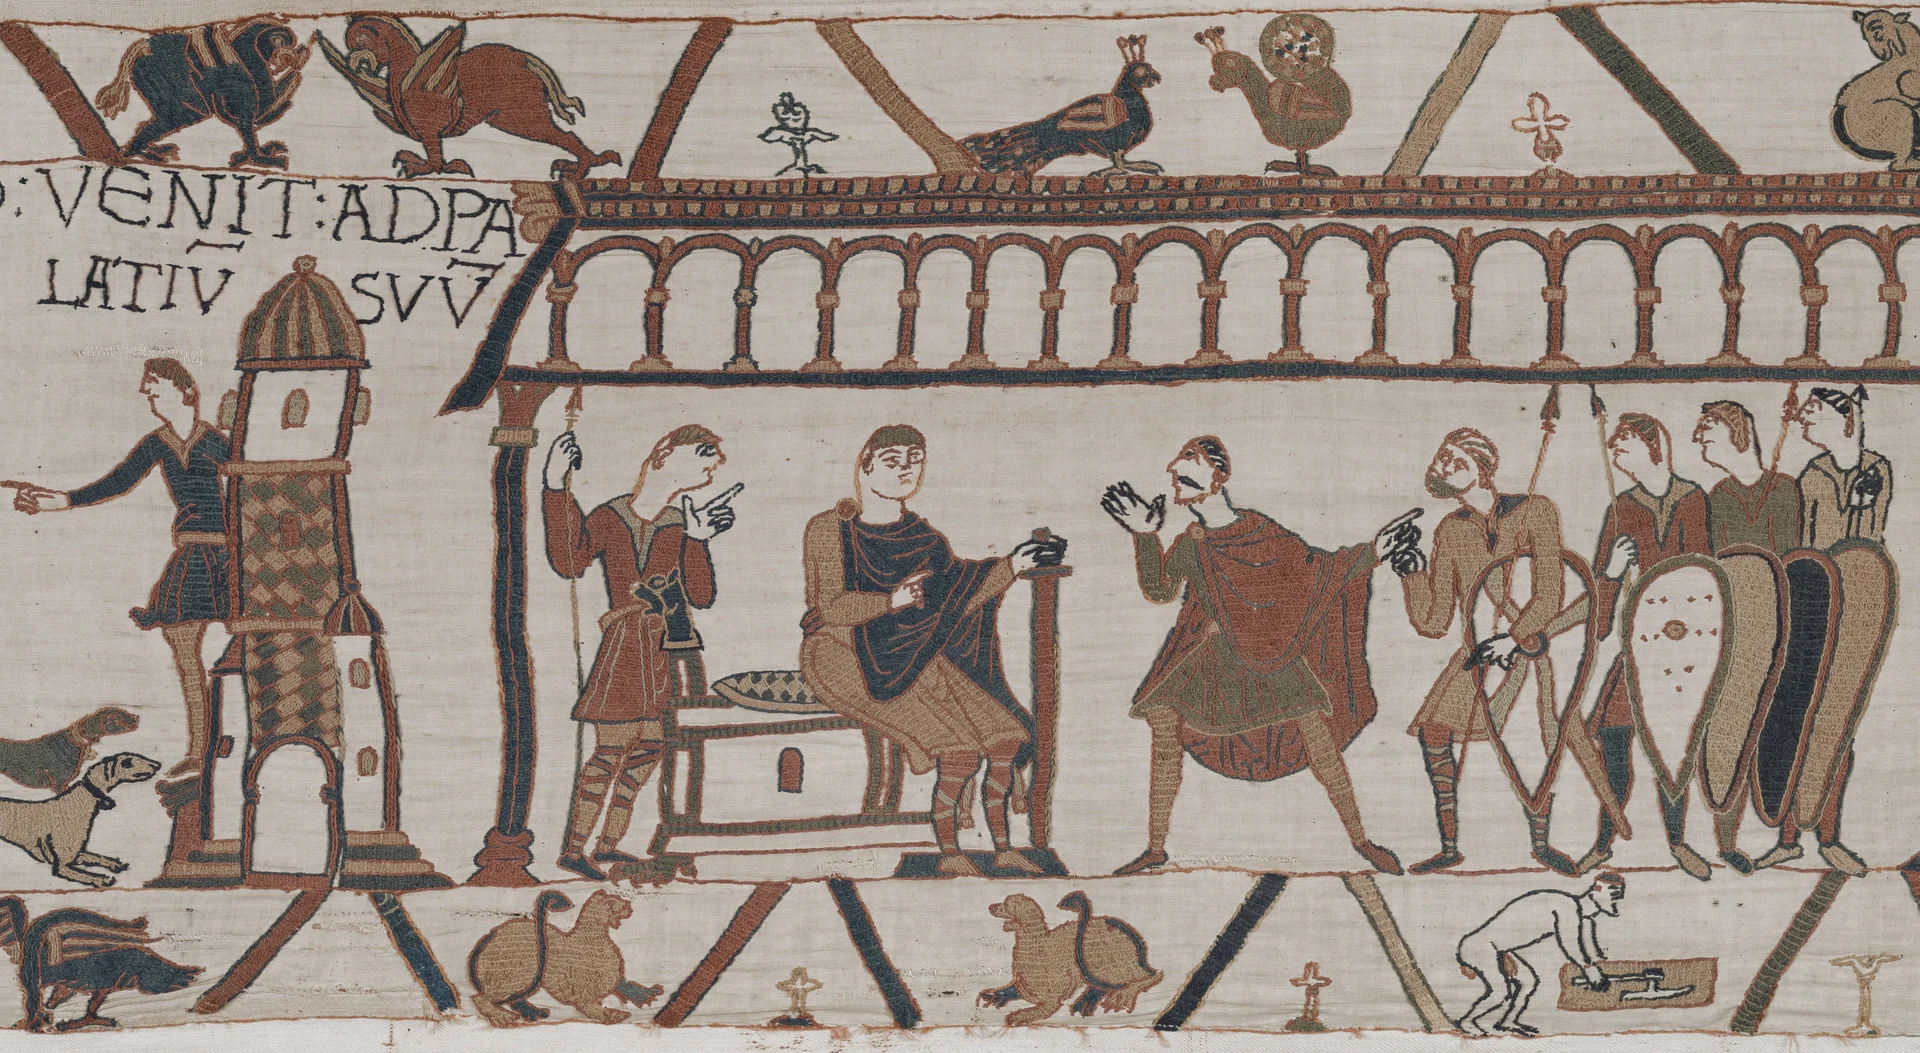 SCENE 04
William Receives Harold at the Palace of Rouen
Informed of Harold's captivity, Duke William dispatches emissaries to pay the ransom and demand his release. William...
VIEW THE NOTICE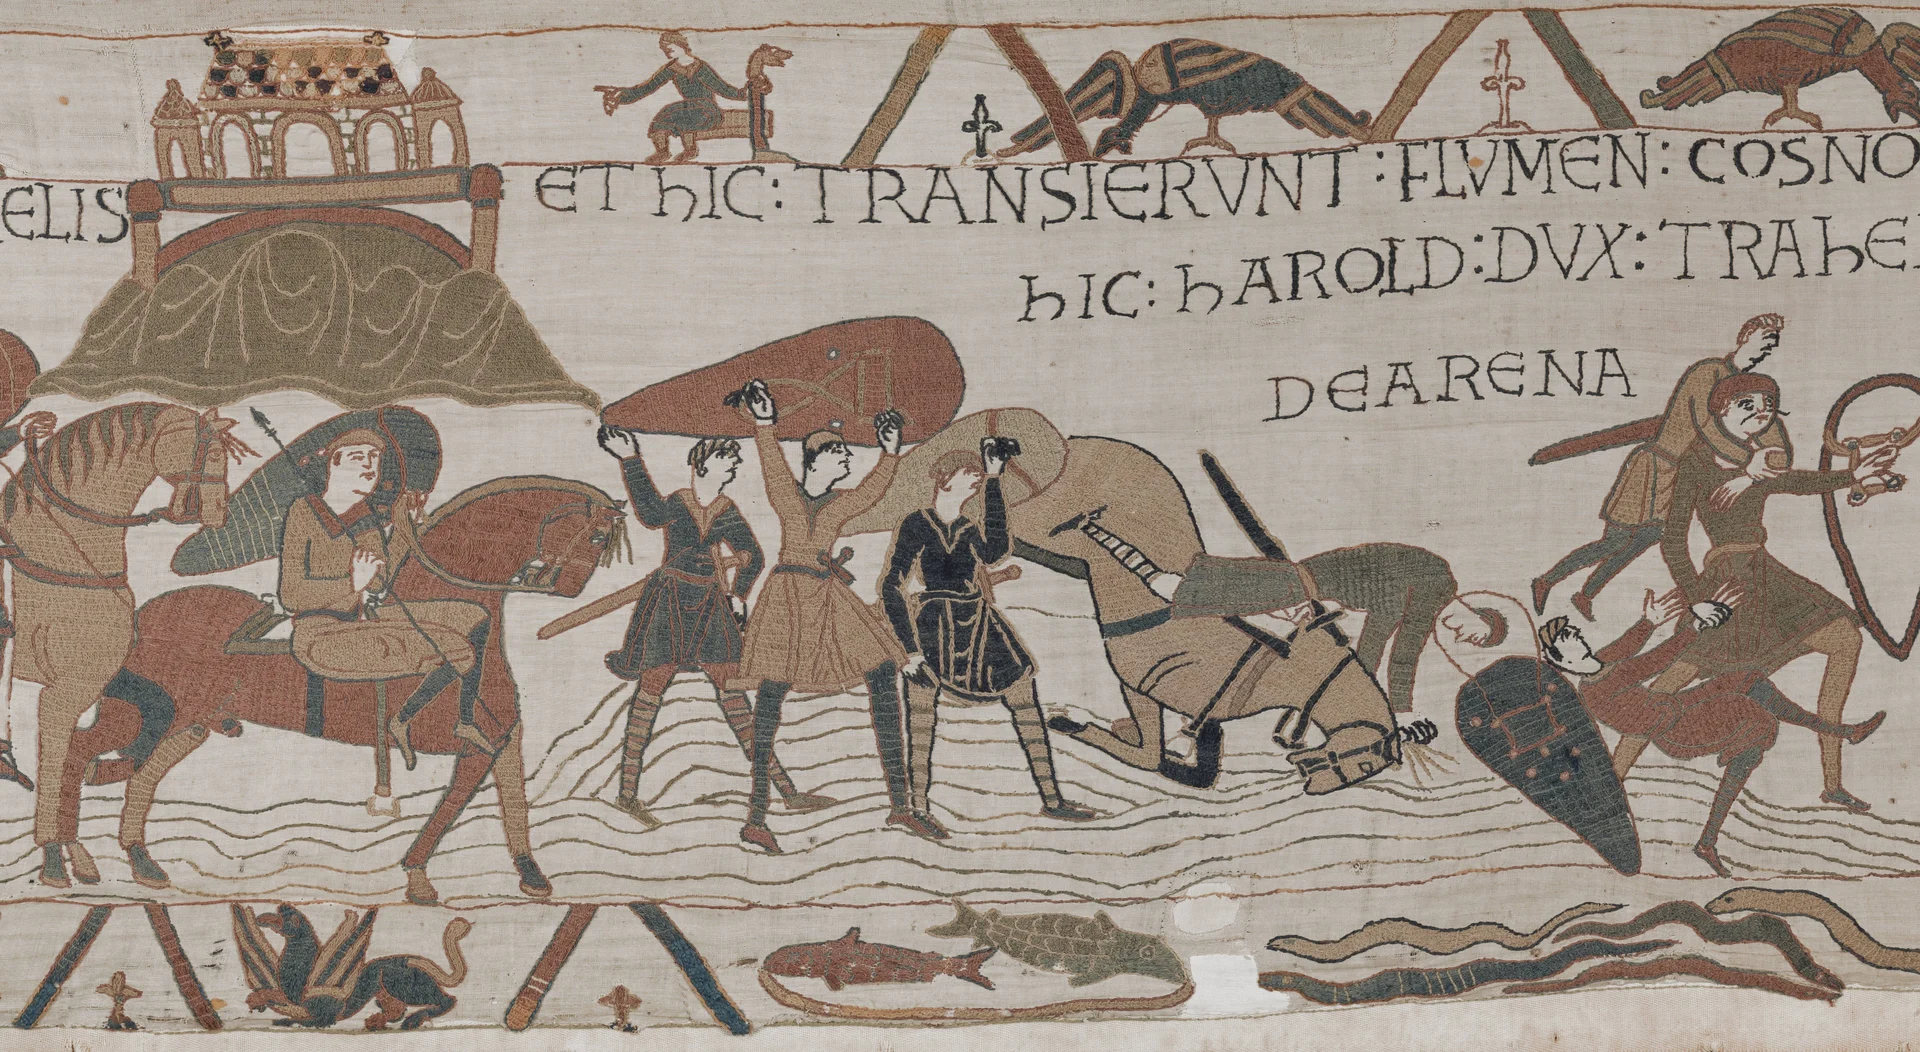 SCENE 05
Mont-Saint-Michel and the Couesnon Crossing
William and Harold's allied army marches past the tidal island abbey of Mont-Saint-Michel. Crossing the river...
VIEW THE NOTICE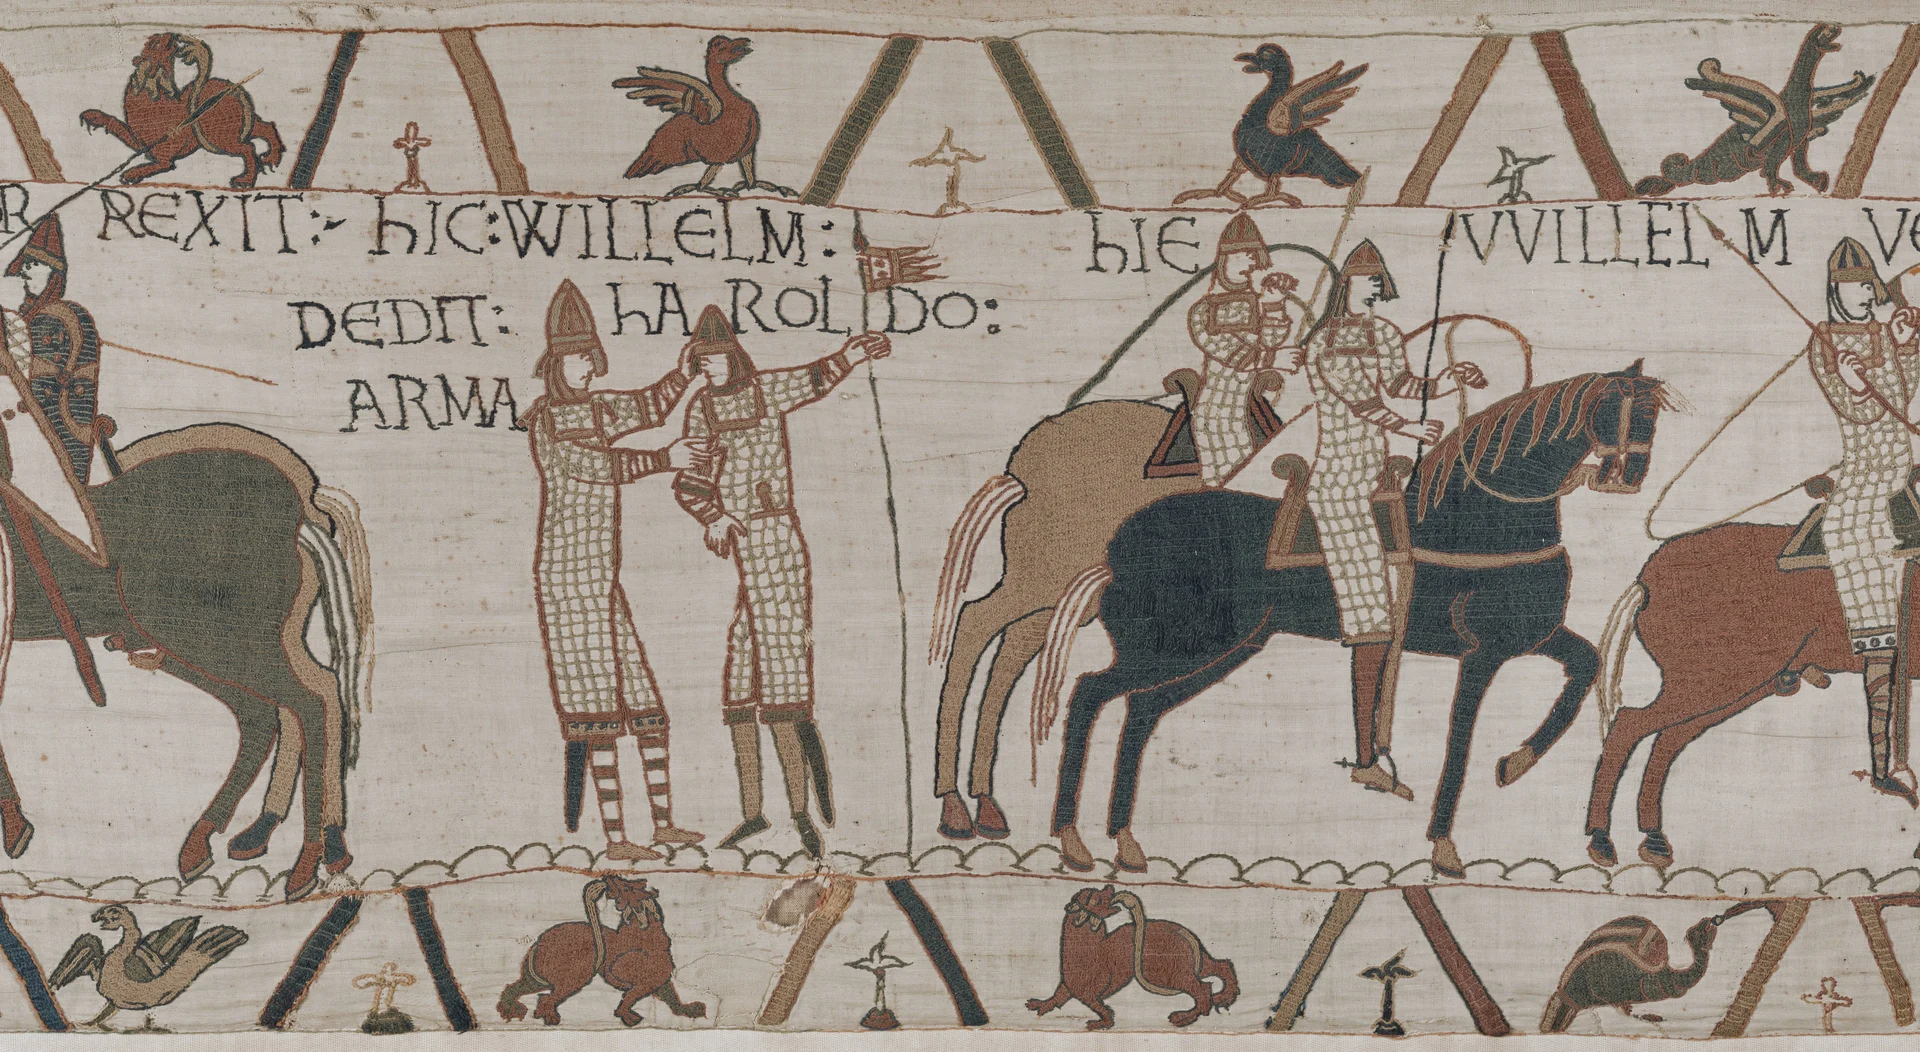 SCENE 06
William Knighting Harold
In recognition of his valor during the Breton campaign and the siege of Dinan, Duke William honors Harold by formally...
VIEW THE NOTICE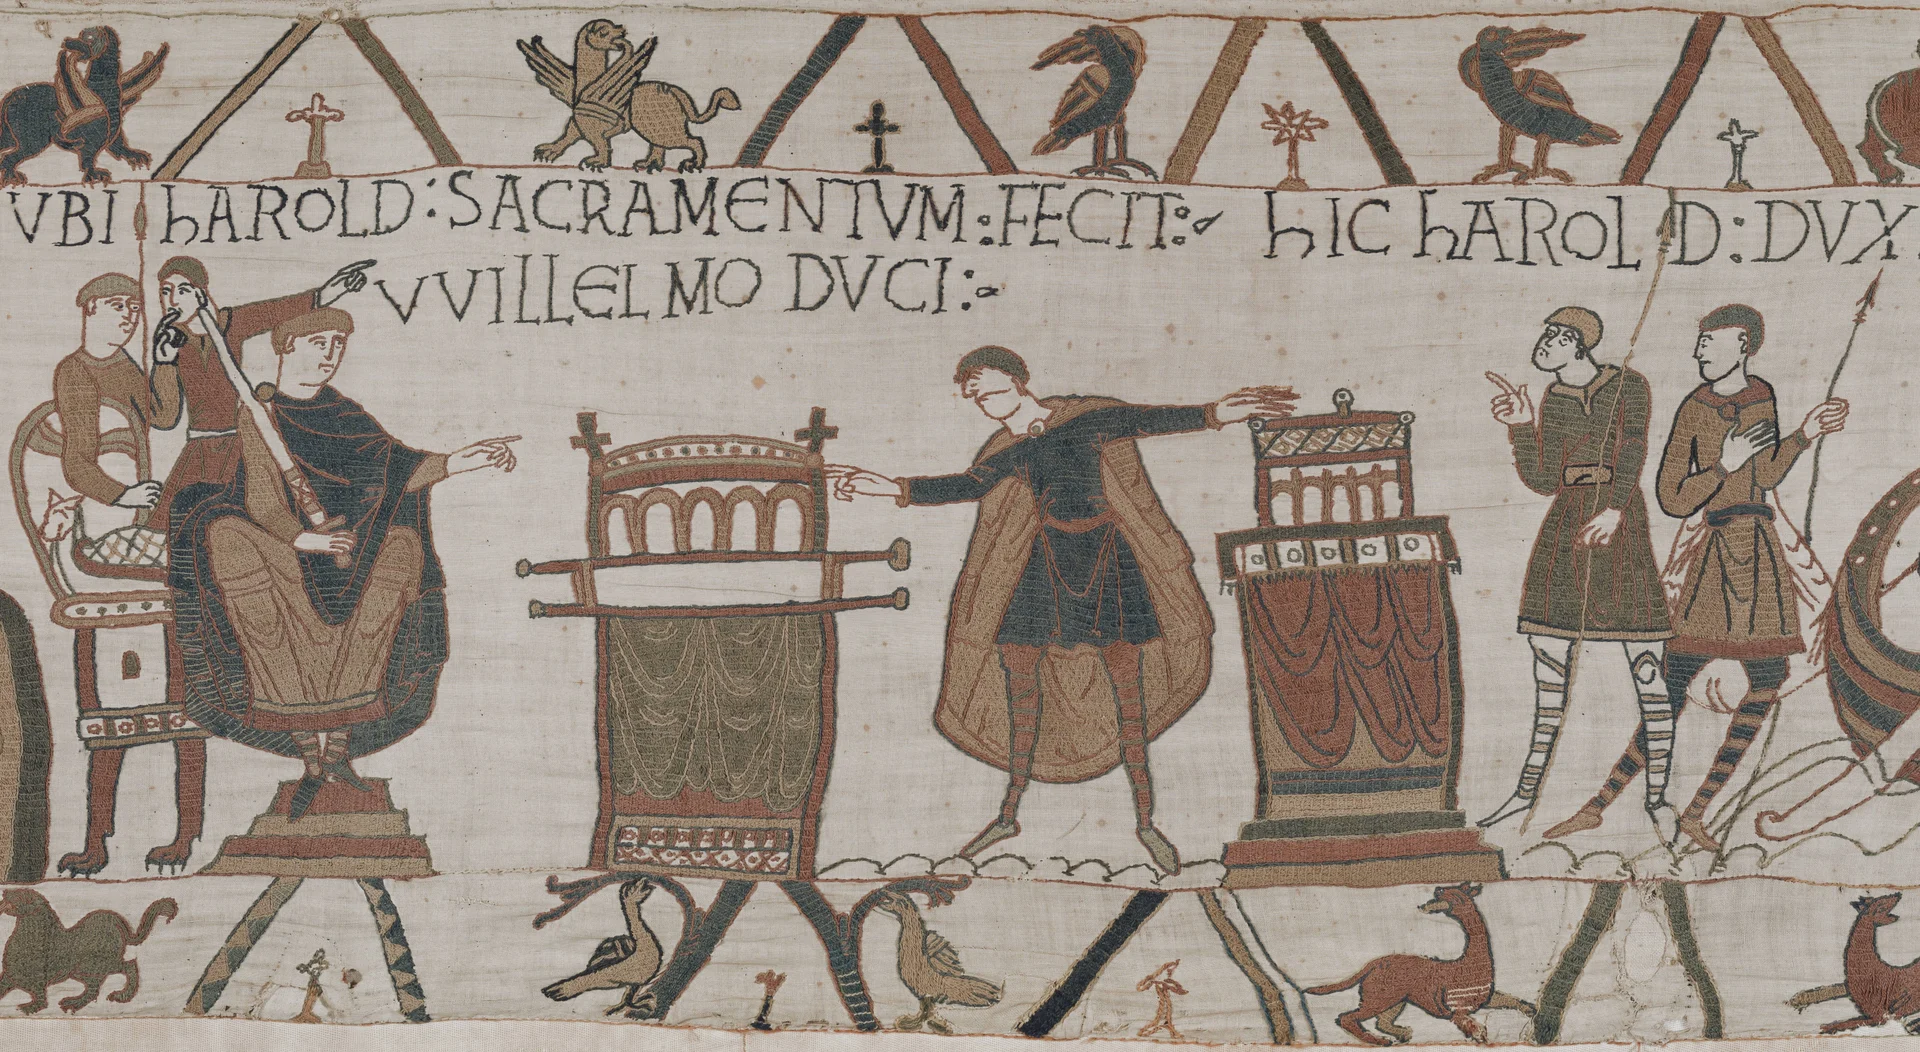 SCENE 07
Harold's Oath at Bayeux
At the castle of Bayeux, Harold swears the fateful solemn oath between two holy reliquaries, pledging allegiance to...
VIEW THE NOTICE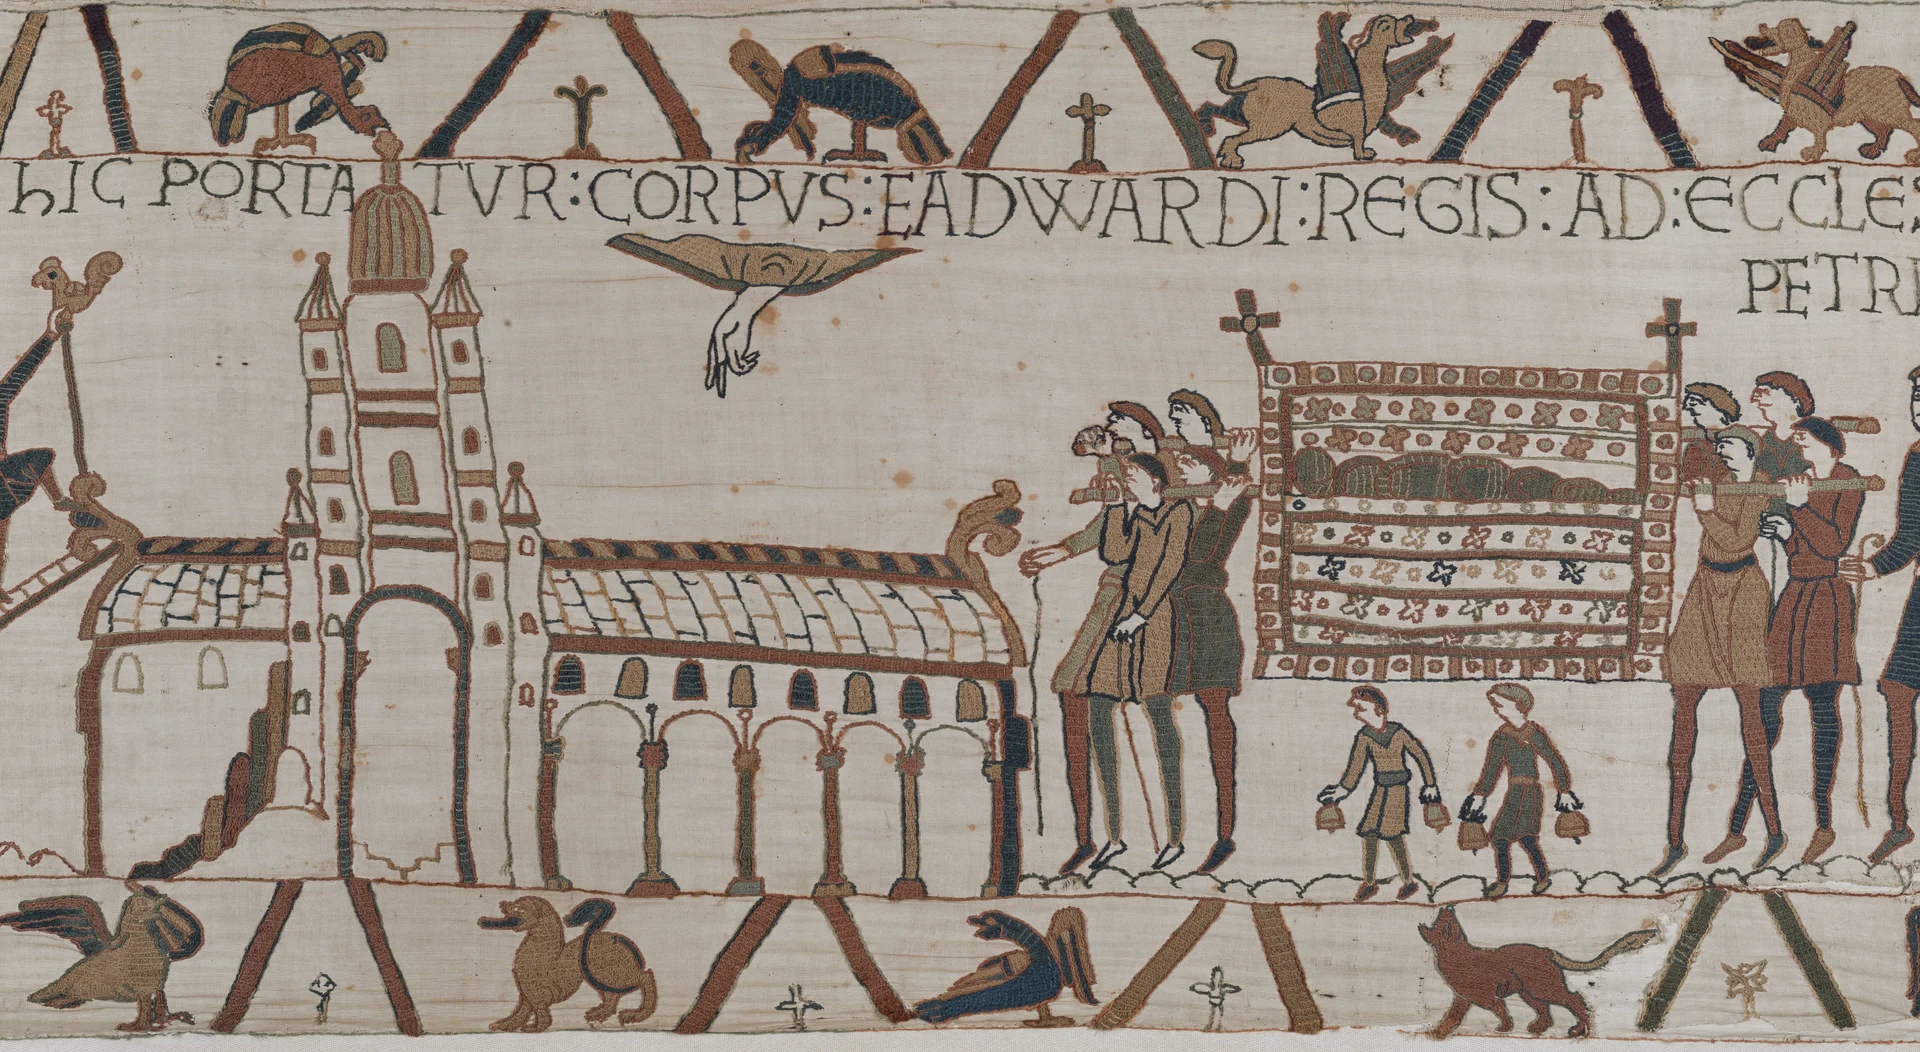 SCENE 08
Death and Funeral of King Edward
A poignant inverted narrative: the body of King Edward is carried in solemn procession to newly consecrated...
VIEW THE NOTICE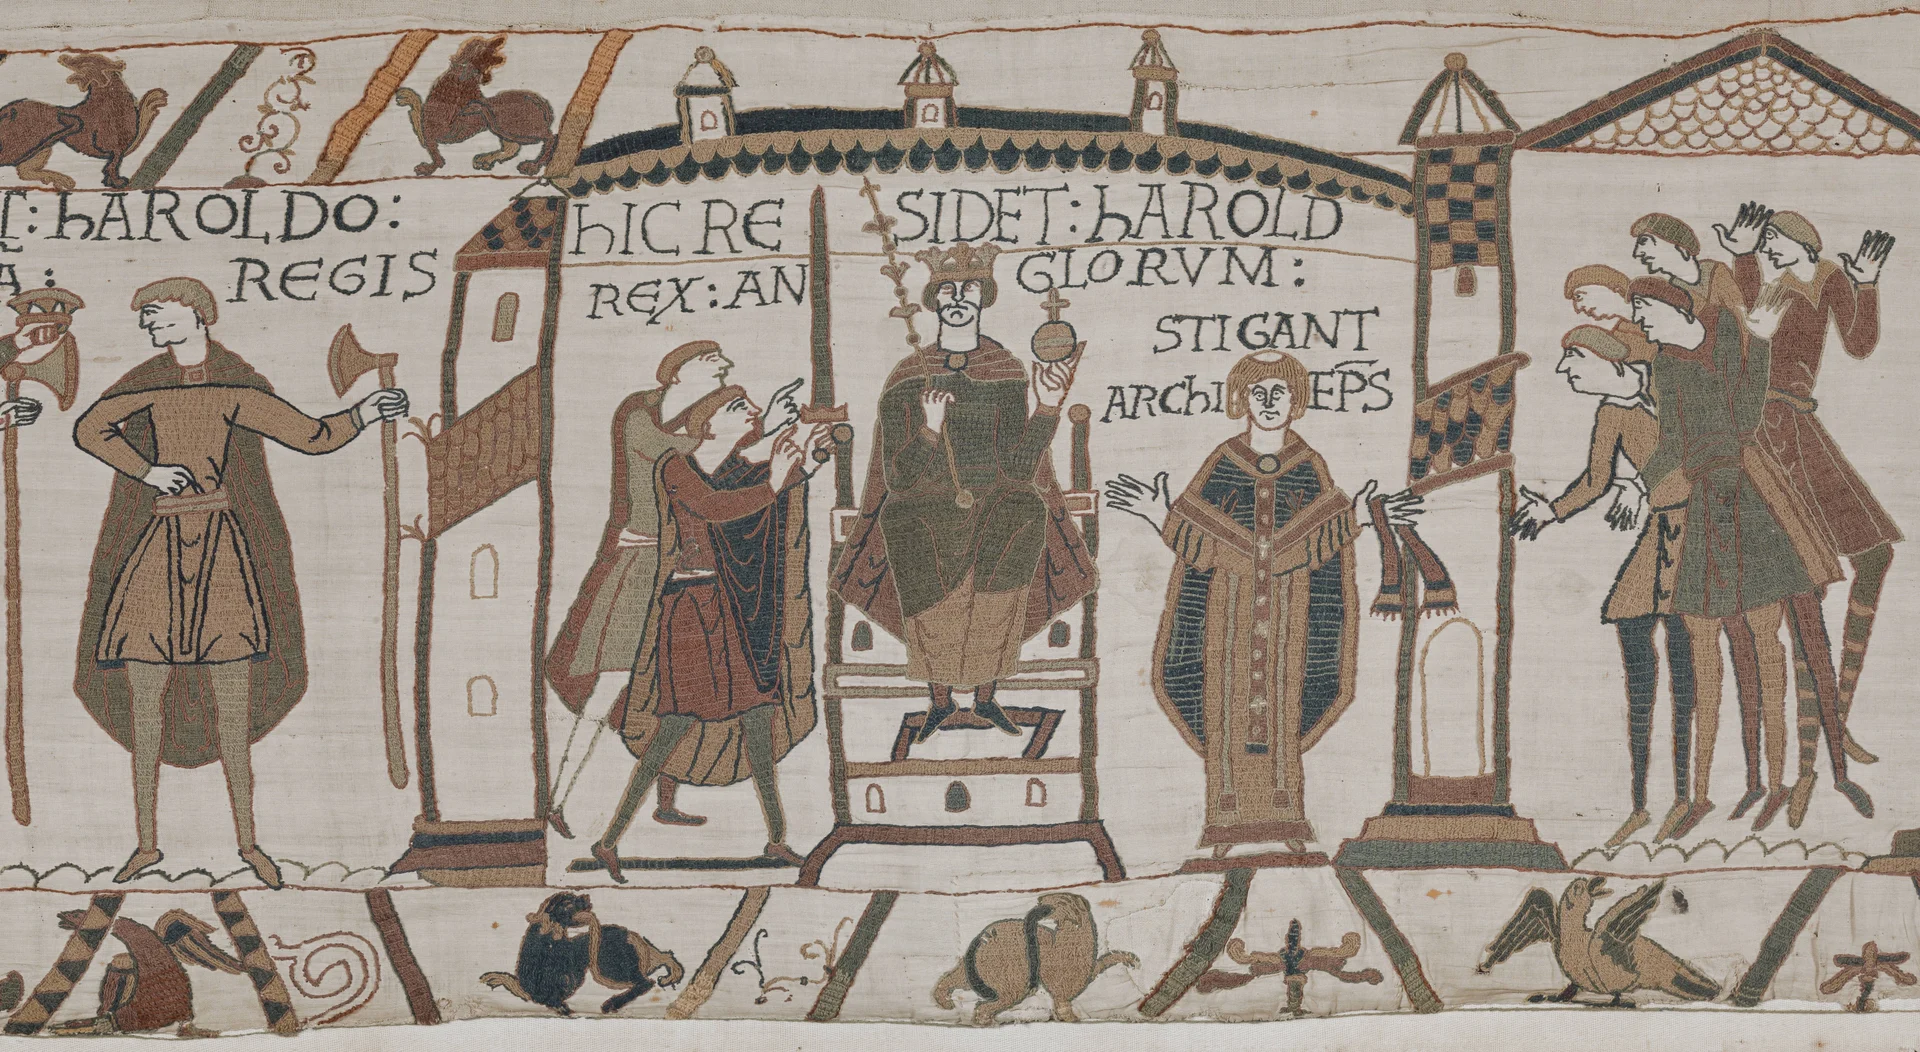 SCENE 09
The Coronation of King Harold
Harold accepts the royal crown offered by the Saxon Witan and sits enthroned in majesty as King of the English...
VIEW THE NOTICE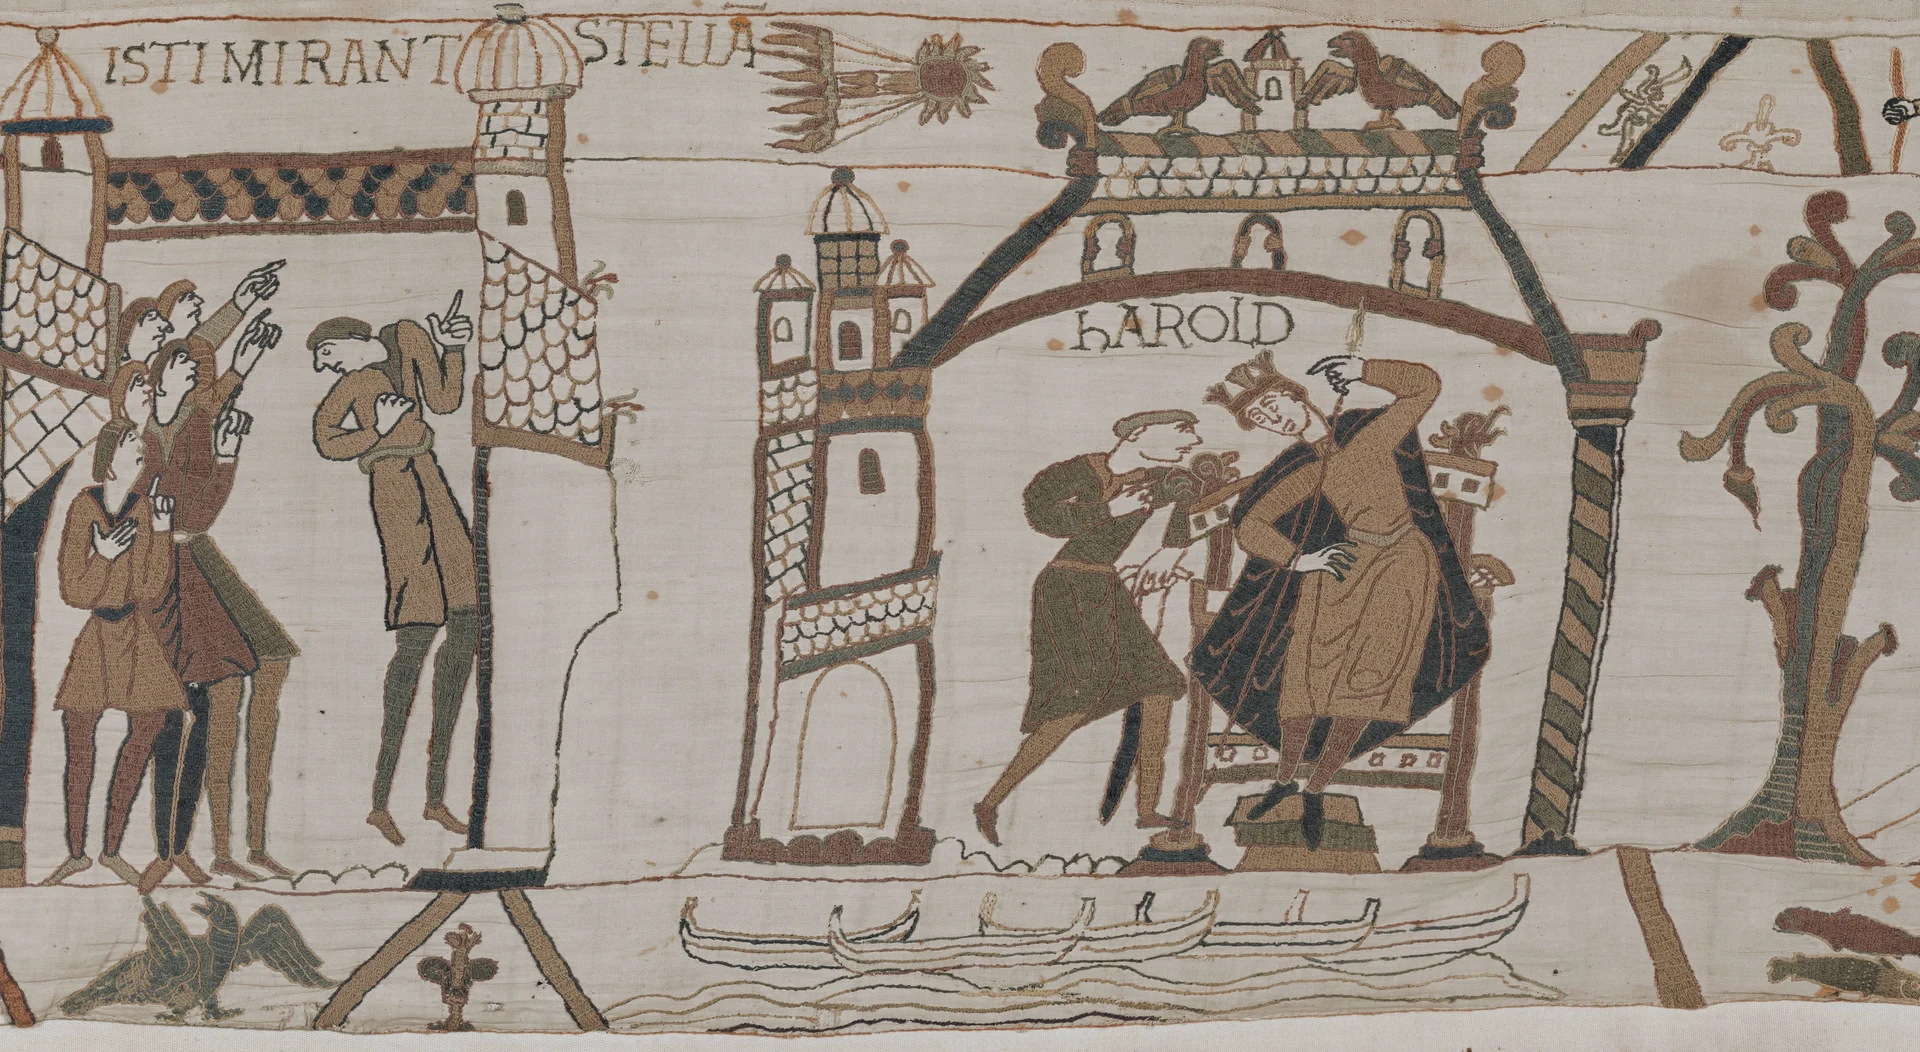 SCENE 10
Halley's Comet (Isti Mirant Stella)
A terrifying flaming star with a streaming tail — Halley's Comet in April 1066 — blazes across the heavens. The crowd...
VIEW THE NOTICE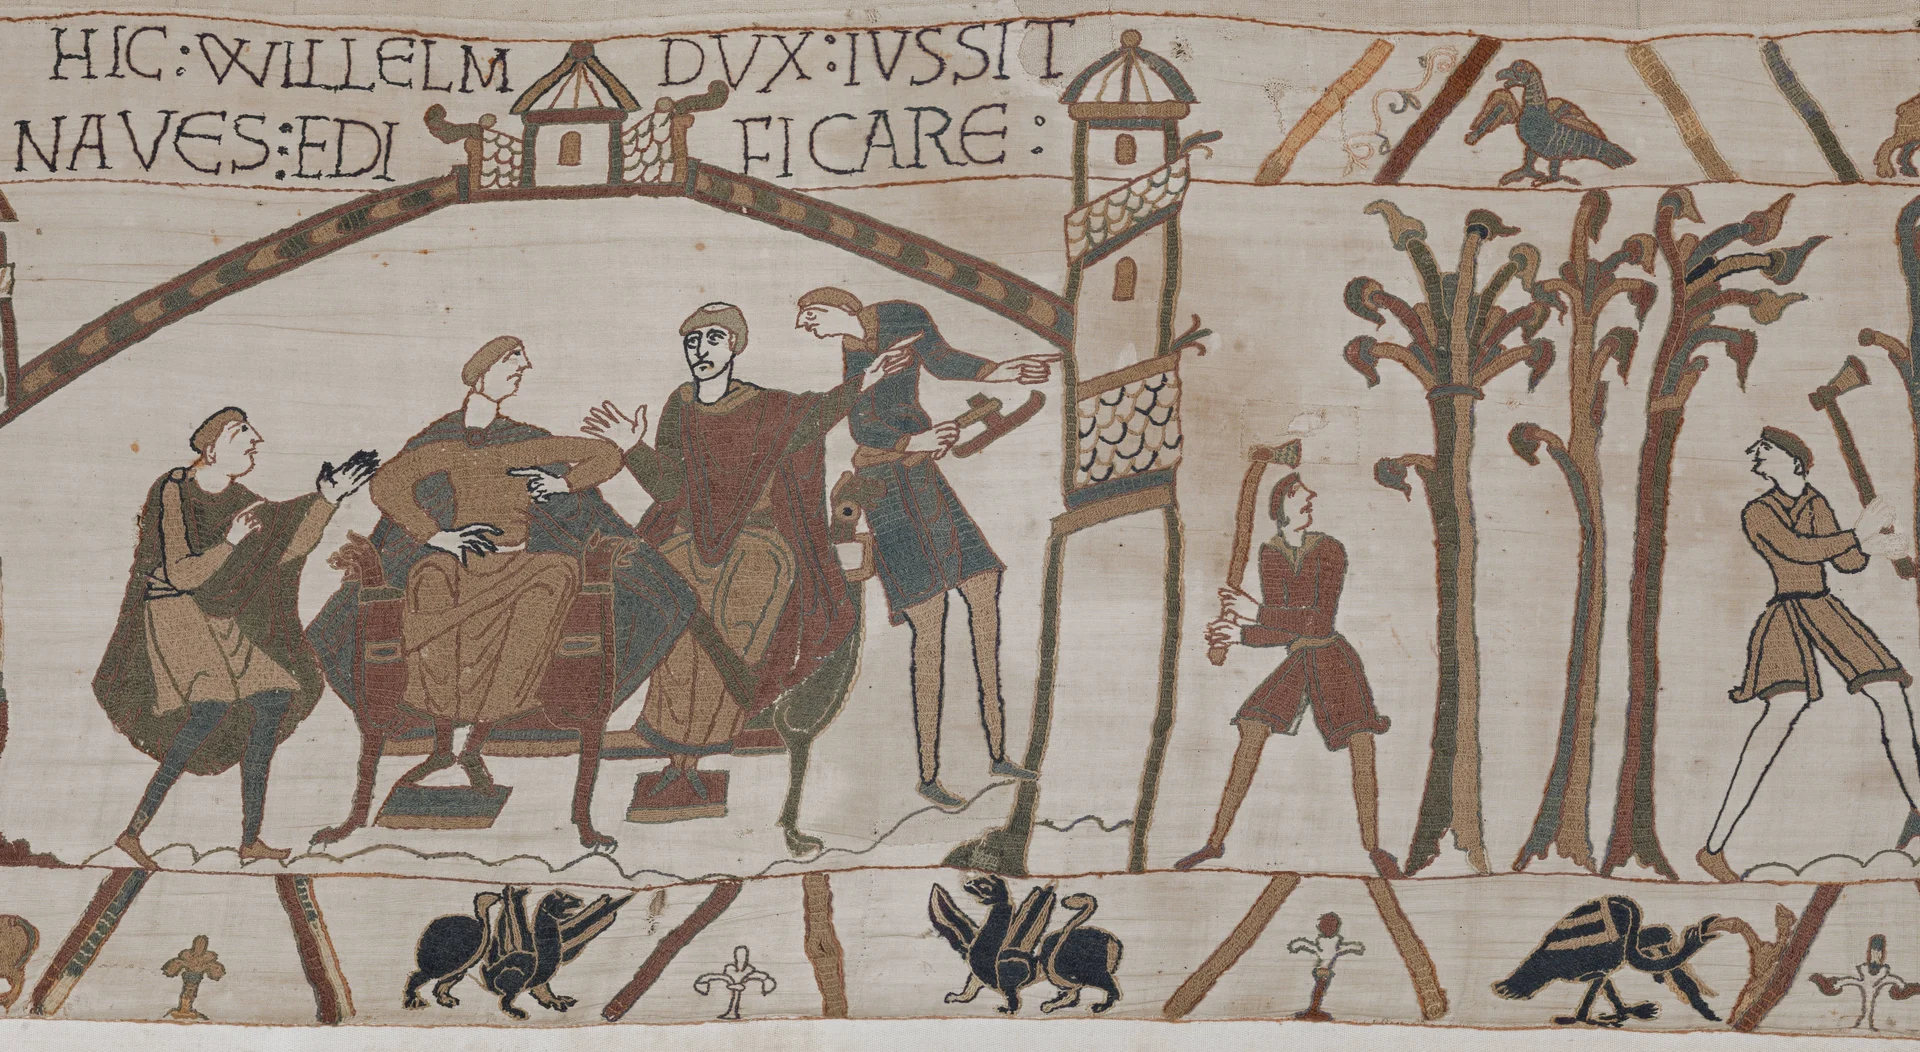 SCENE 11
Building the Fleet
Upon learning of Harold's coronation, Duke William orders the assembly of an unprecedented invasion fleet. Master...
VIEW THE NOTICE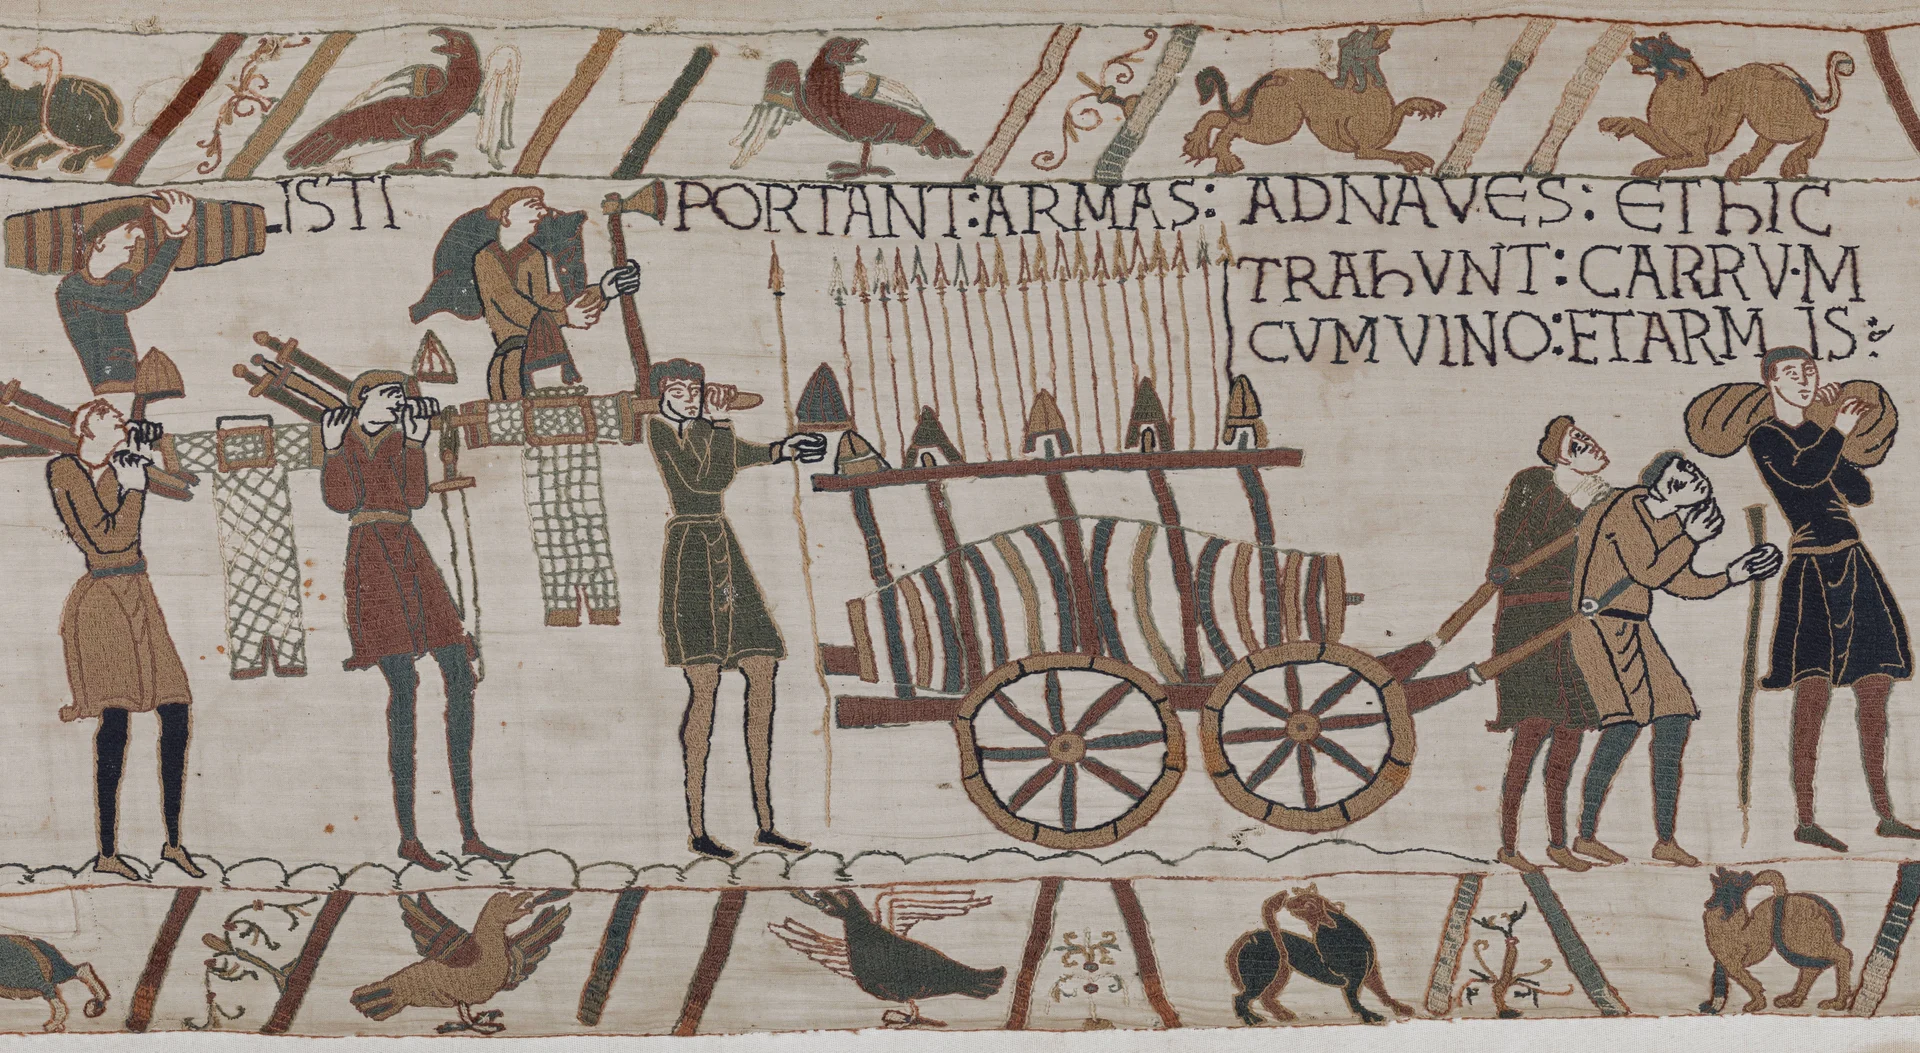 SCENE 12
Embarkation of the Expedition
Military logistics swung into motion: soldiers carry heavy chainmail hauberks suspended on poles, load helmets...
VIEW THE NOTICE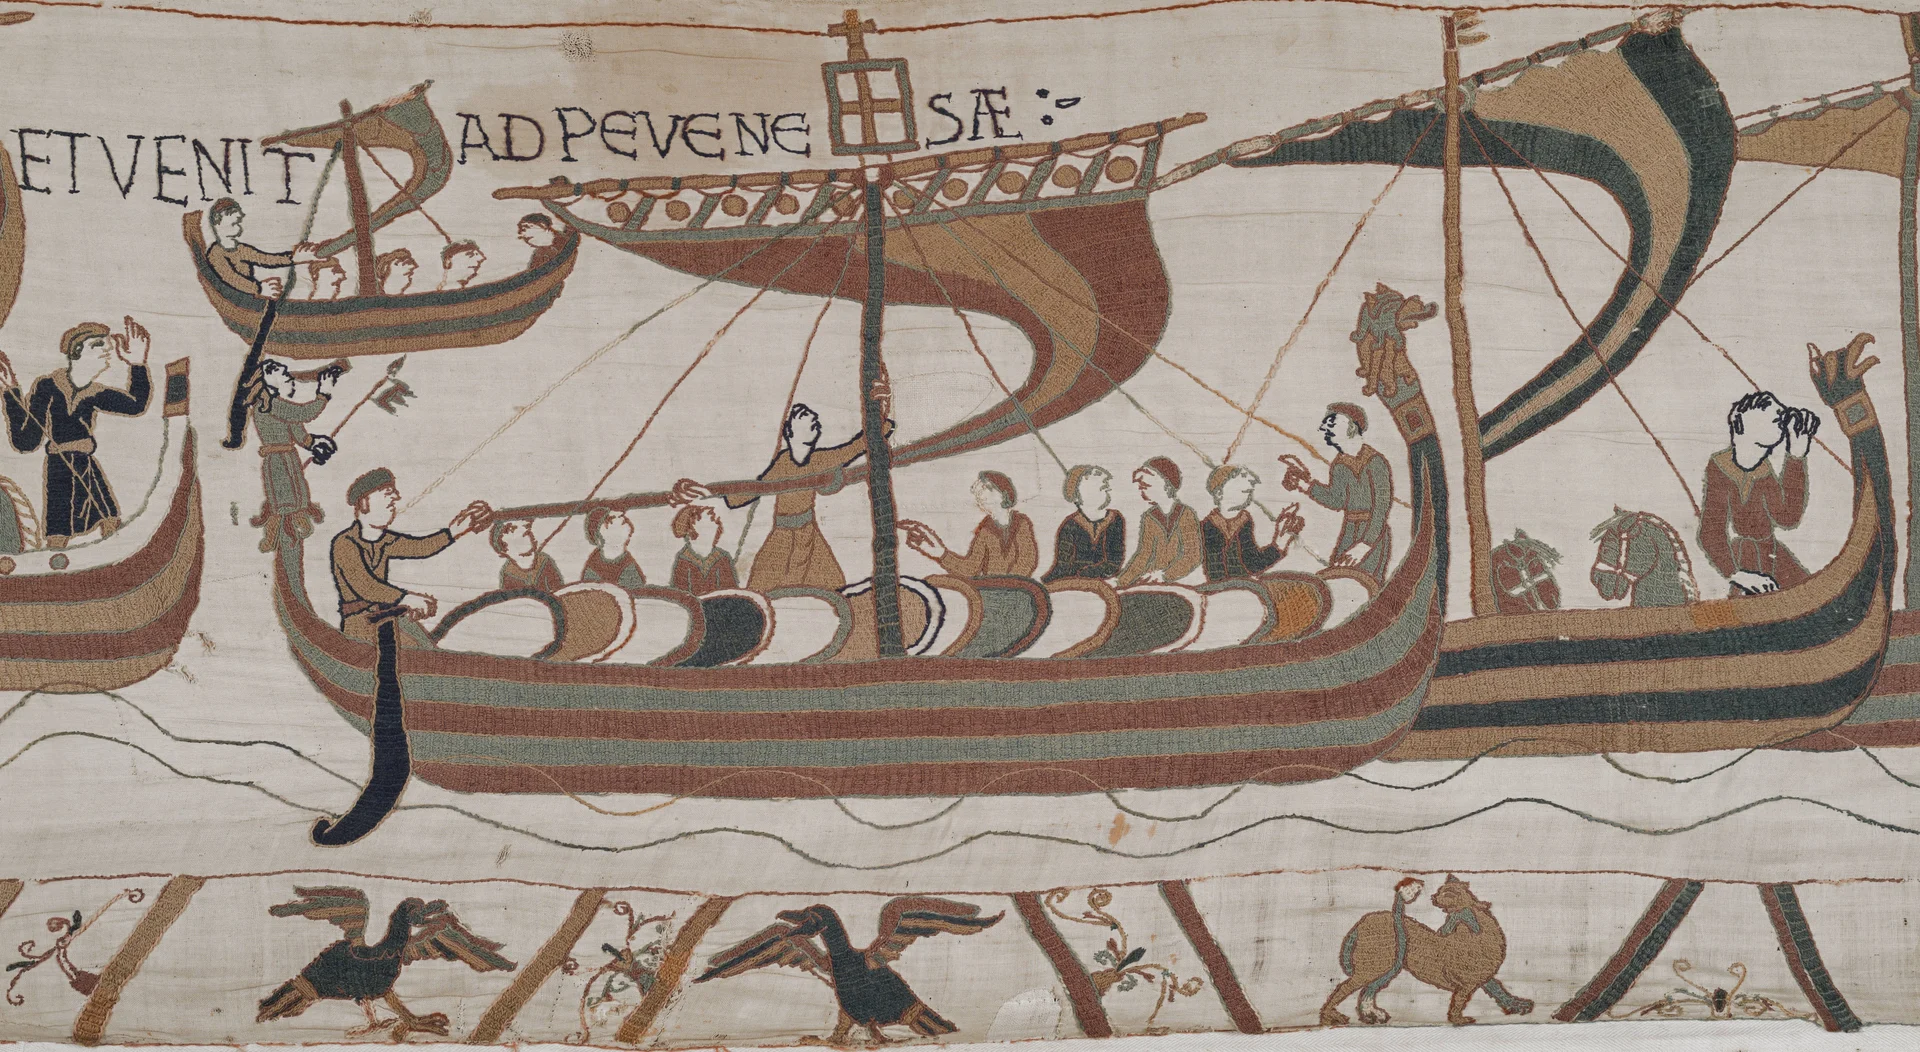 SCENE 13
Crossing the Channel (The Flagship Mora)
The grand fleet sets sail across the Channel with favorable winds. At the vanguard glides the Mora, the flagship...
VIEW THE NOTICE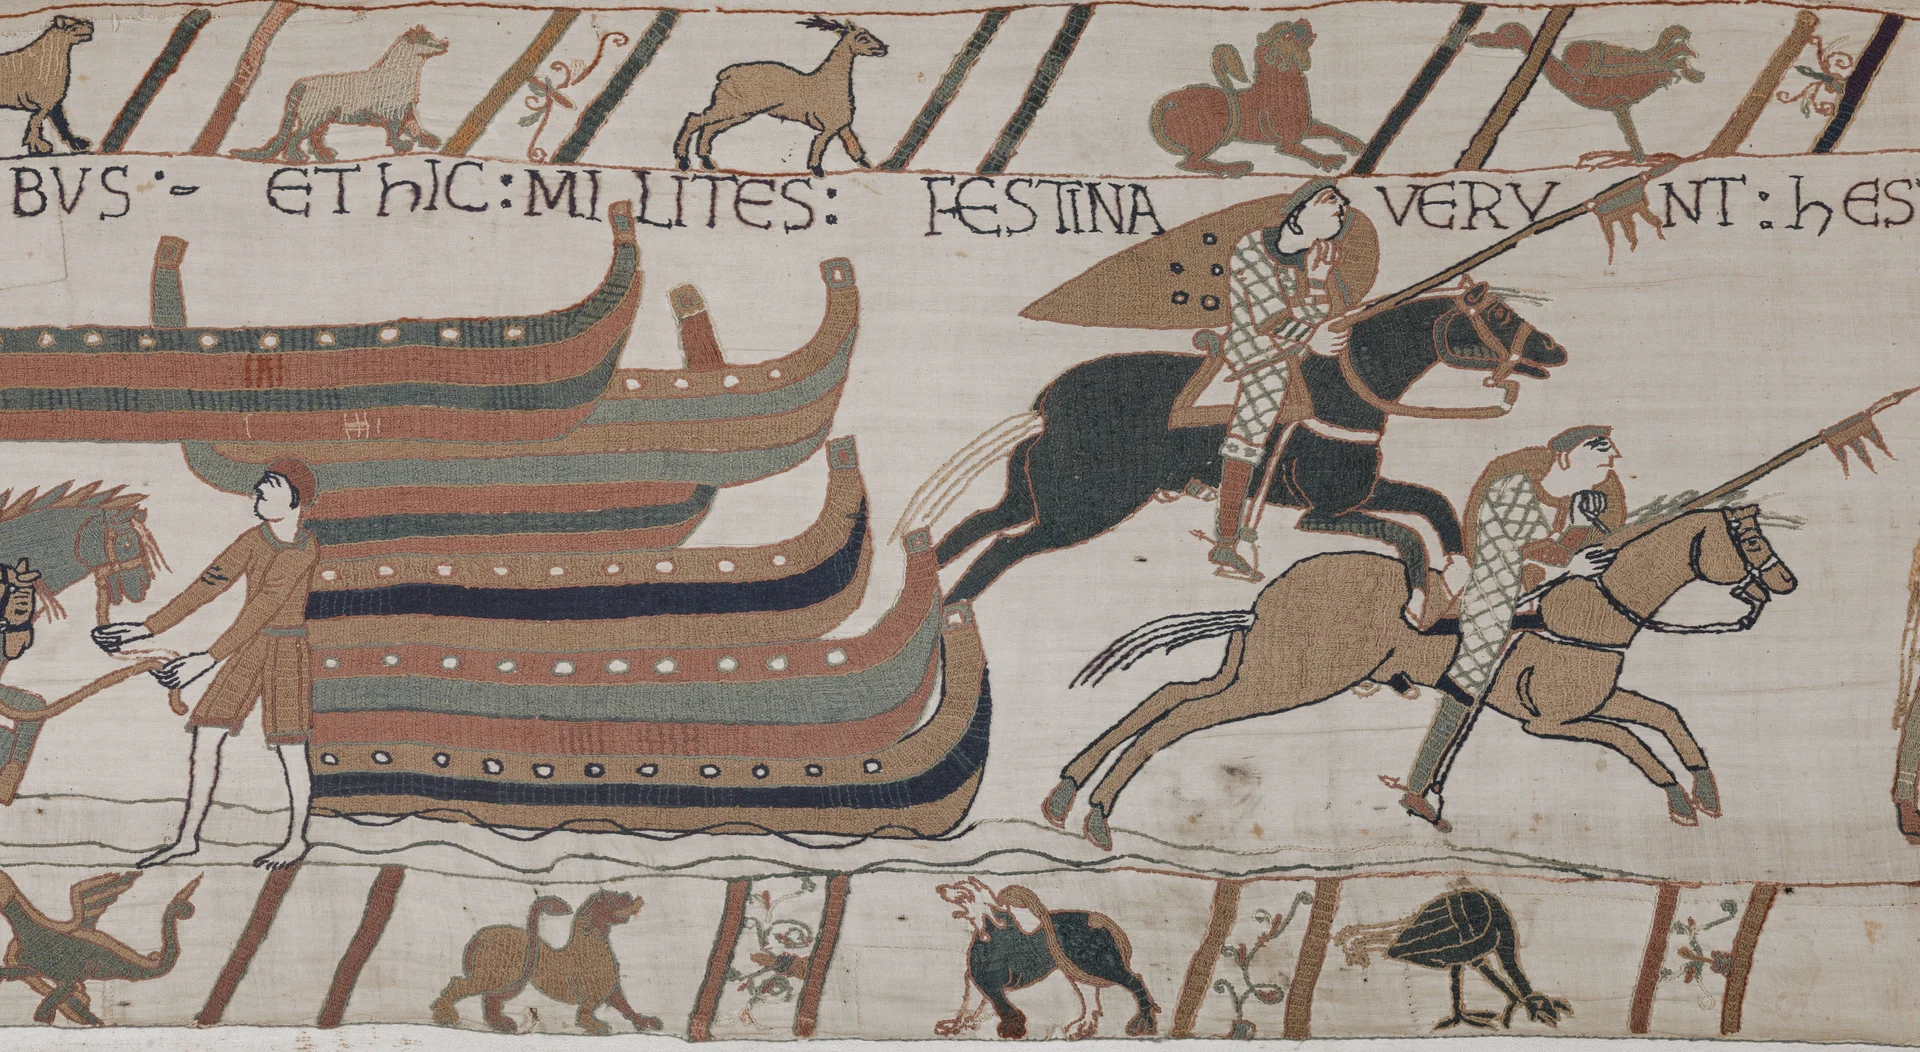 SCENE 14
Landing at Pevensey and the Ride to Hastings
The invasion force lands unopposed on the flat shores of Pevensey Bay. Warhorses jump down into the shallow surf, and...
VIEW THE NOTICE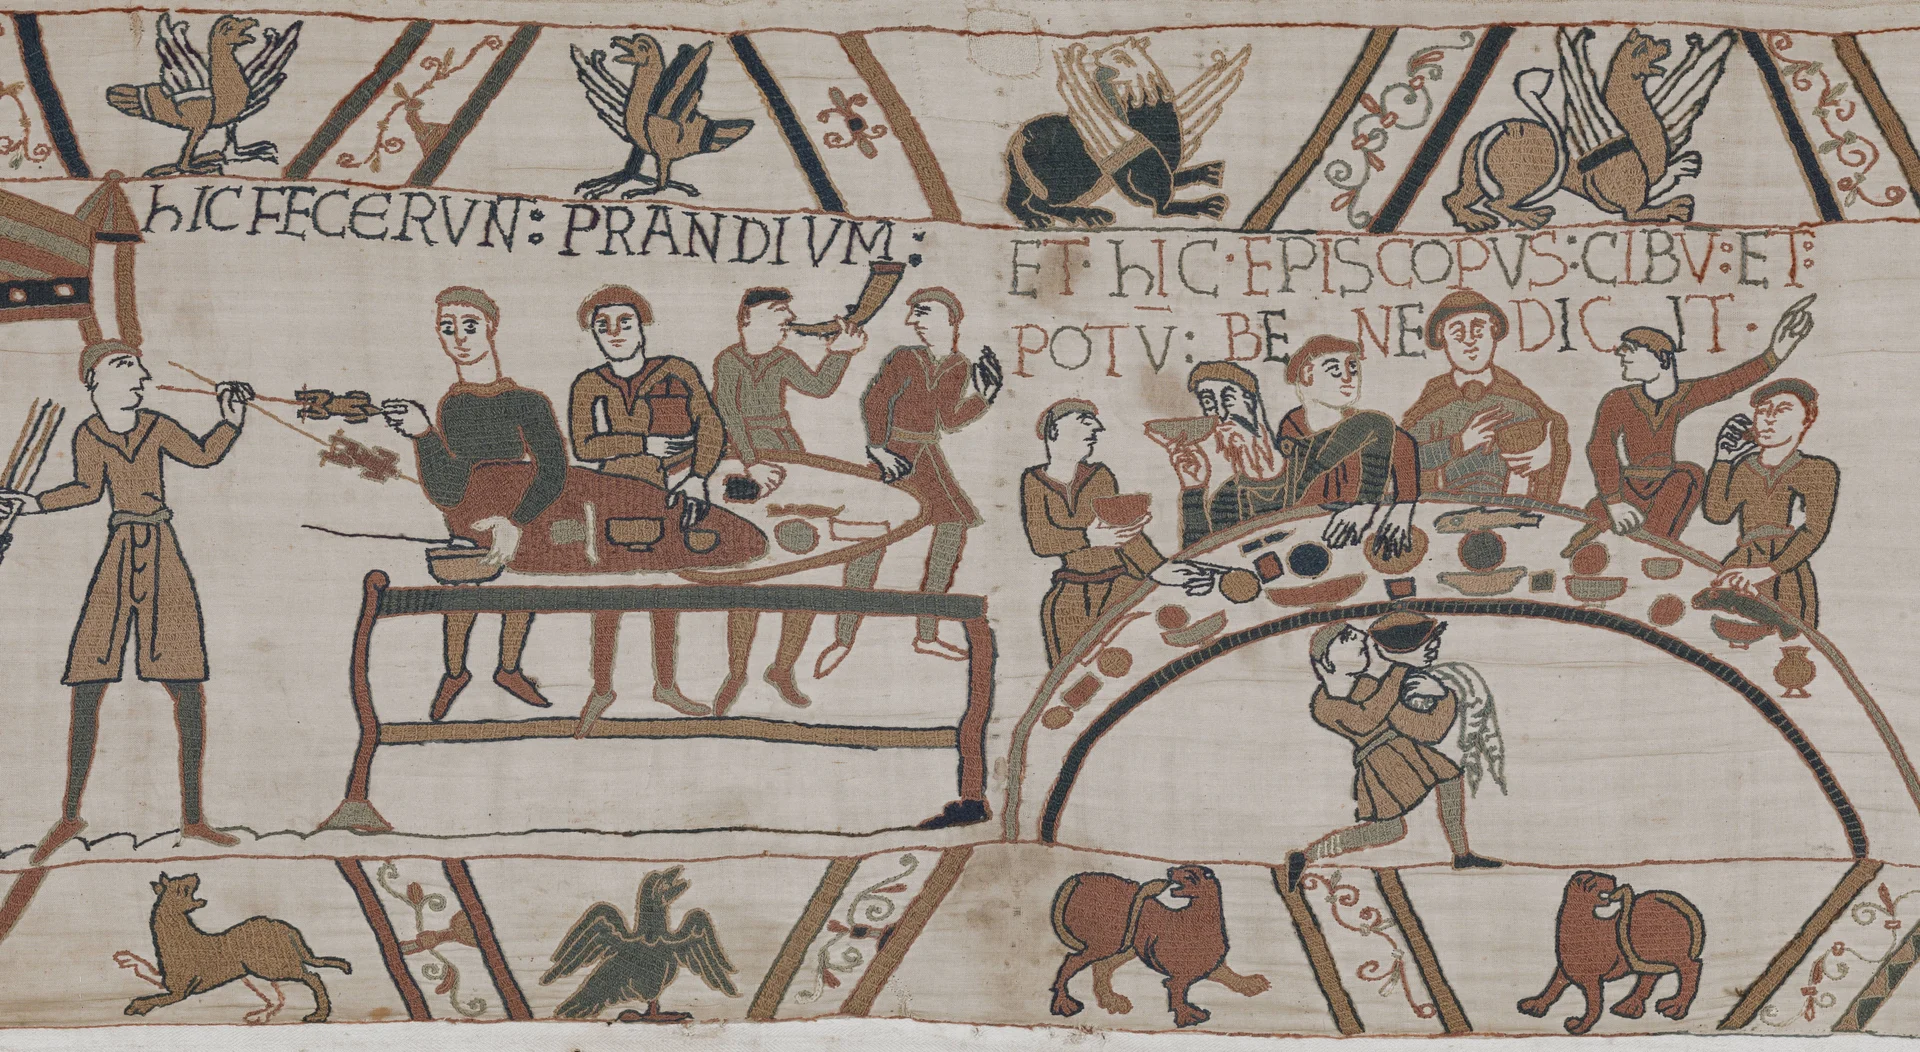 SCENE 15
The Norman Feast and Bishop Odo
At Hastings, camp cooks roast skewered meats over open fires. William and his chief lords sit at a curved dining...
VIEW THE NOTICE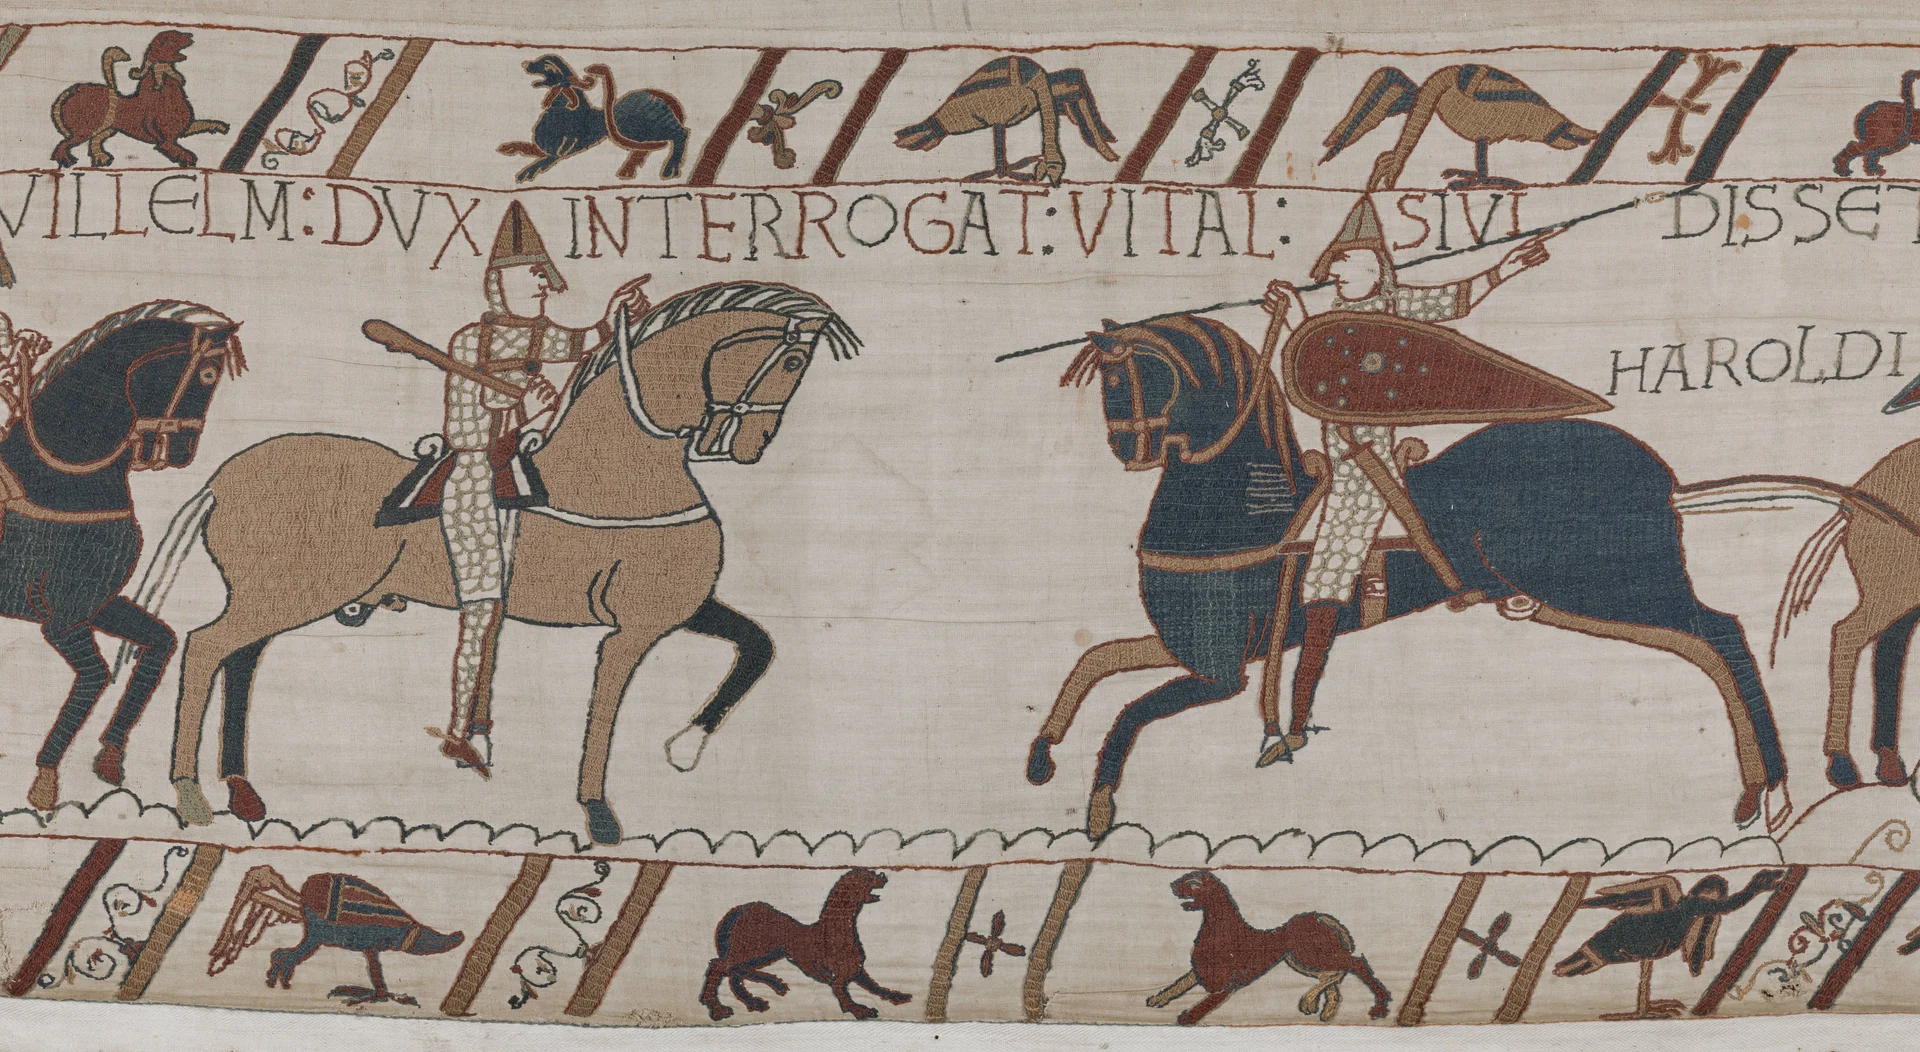 SCENE 16
Scout Vital and Duke William
On advanced reconnaissance near Senlac Hill, Duke William halts on his black stallion to interrogate his scout Vital...
VIEW THE NOTICE
SCENE 17
The Clash of Hastings and the Saxon Shield-Wall
The titanic collision of October 14, 1066: Norman heavy cavalry charges uphill, crashing directly into the...
VIEW THE NOTICE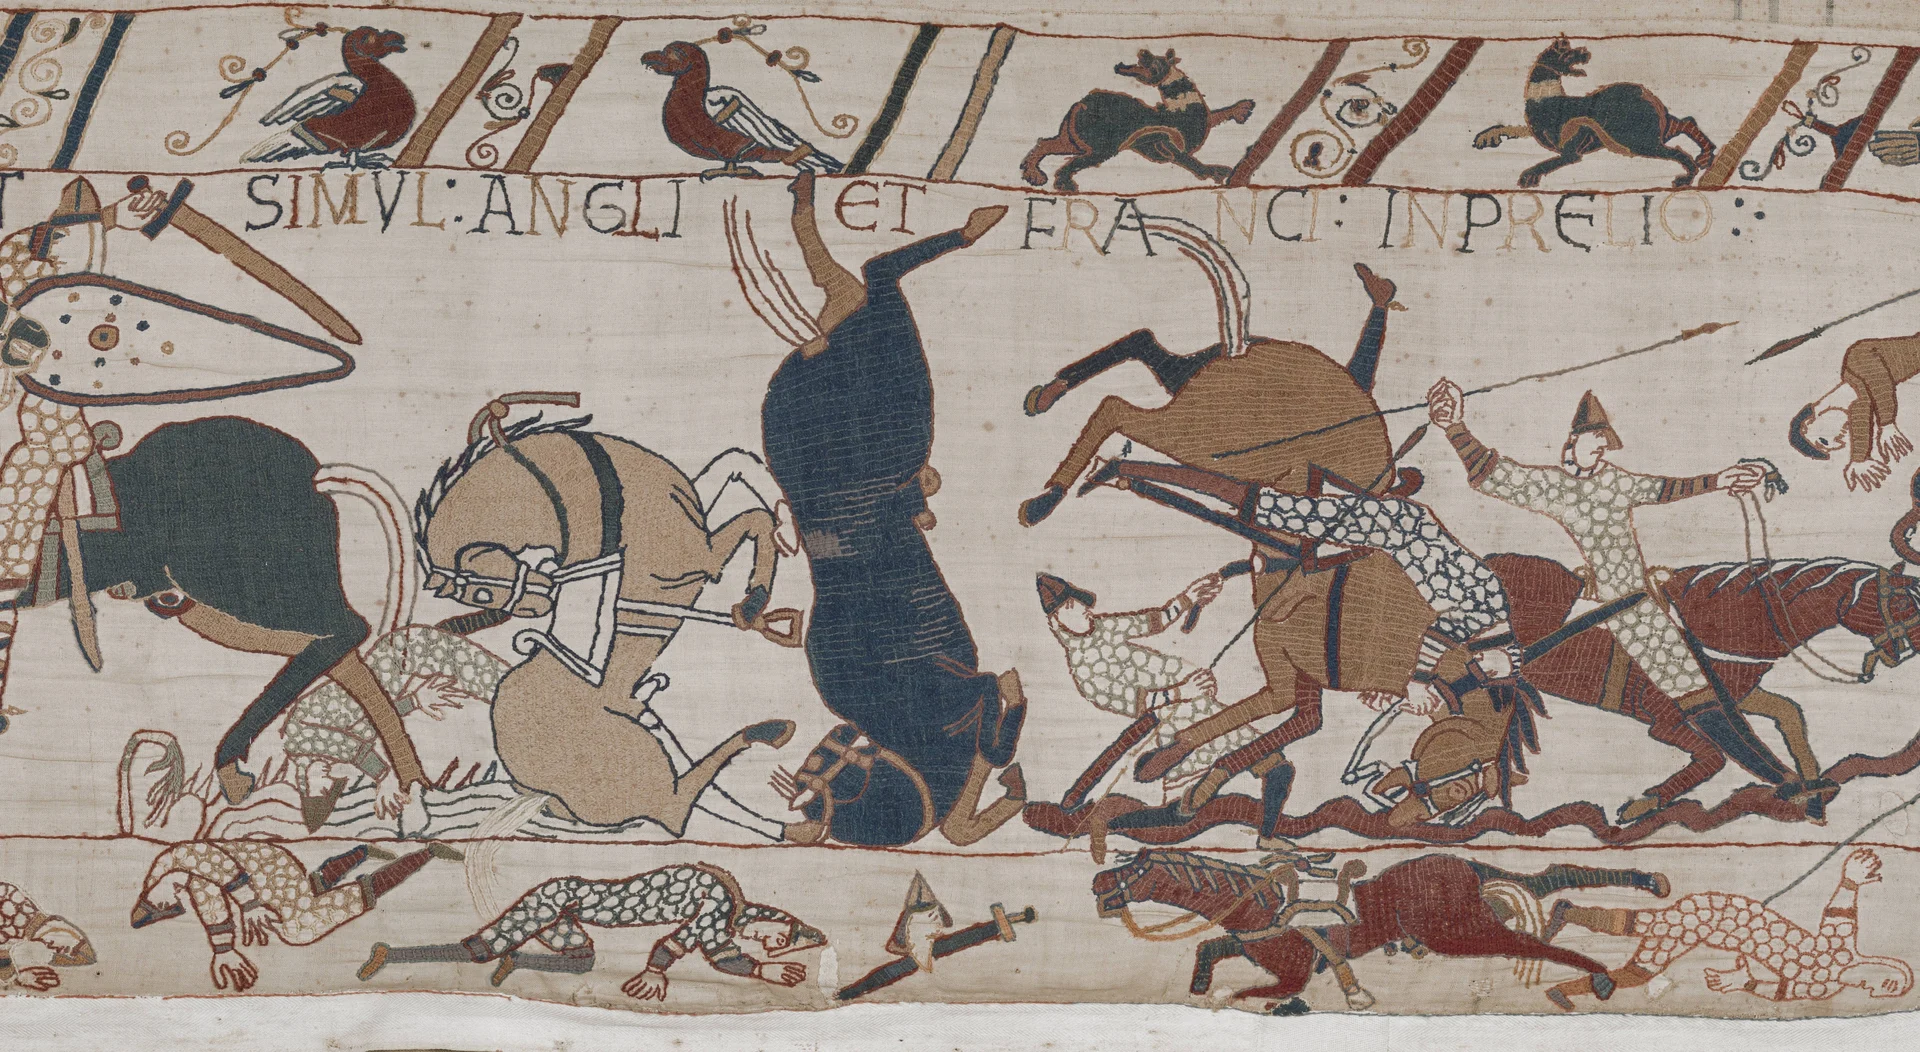 SCENE 18
The Ravine of Malfosse
The catastrophic ravine of Malfosse: caught in treacherous terrain, Norman cavalry and destriers somersault upside...
VIEW THE NOTICE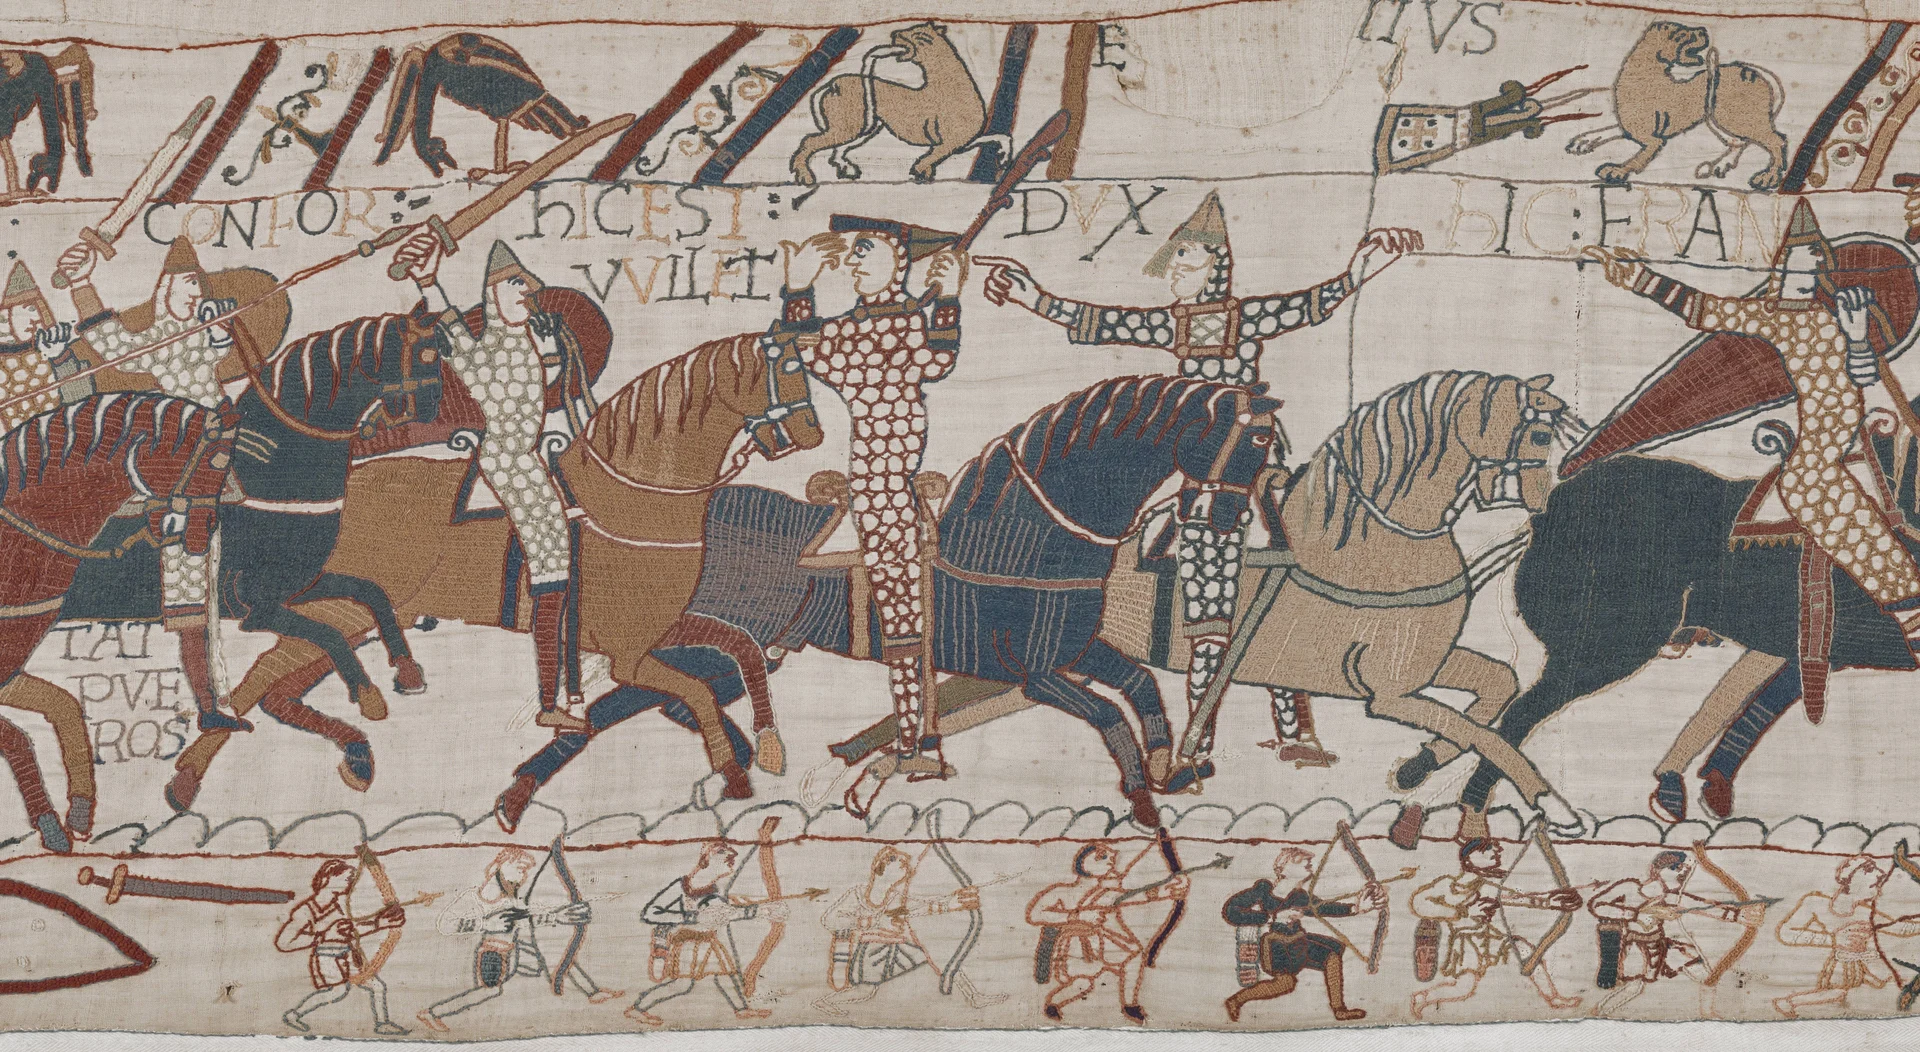 SCENE 19
Hastings: William Lifts his Helmet
The turning point of the day: as panic spreads that Duke William has fallen, he pushes back his nasal helmet to...
VIEW THE NOTICE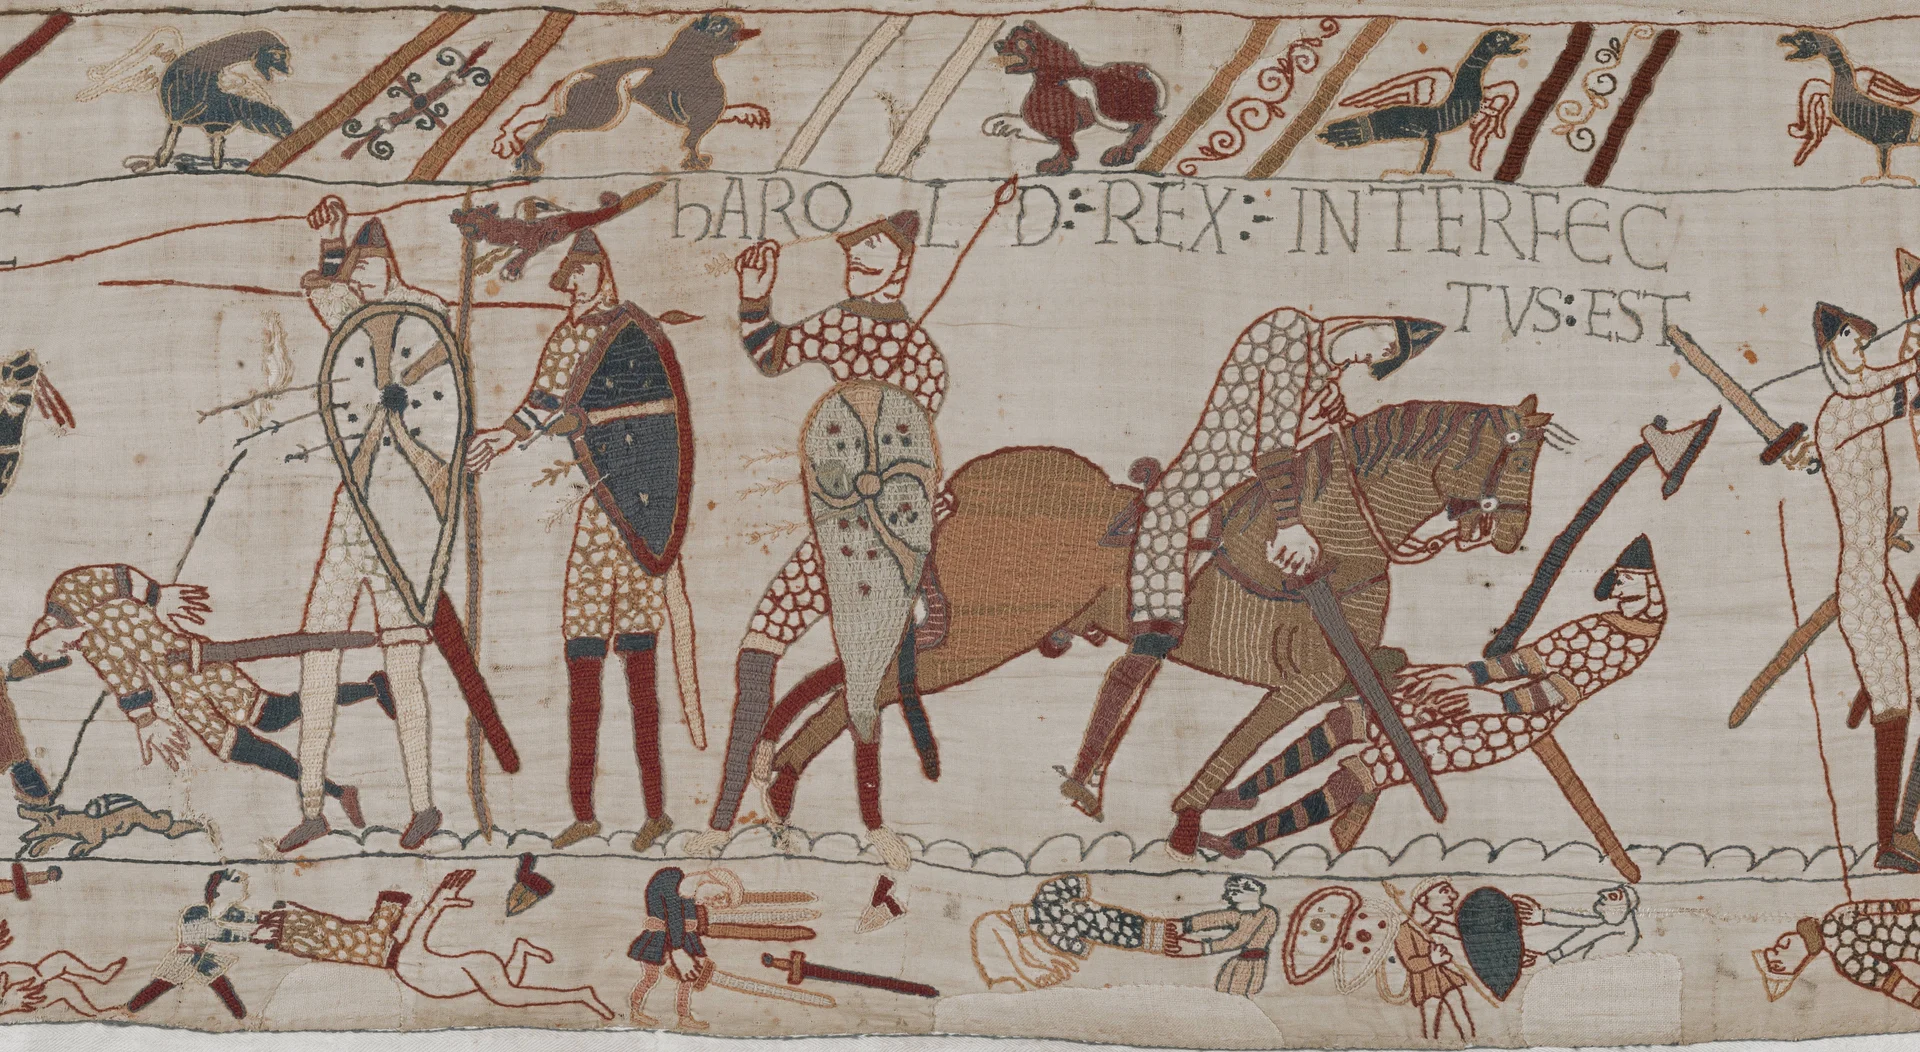 SCENE 20
The Death of King Harold
The tragic climax of the battle: under the solemn titulus 'HIC HAROLD REX INTERFECTUS EST', King Harold is mortally...
VIEW THE NOTICE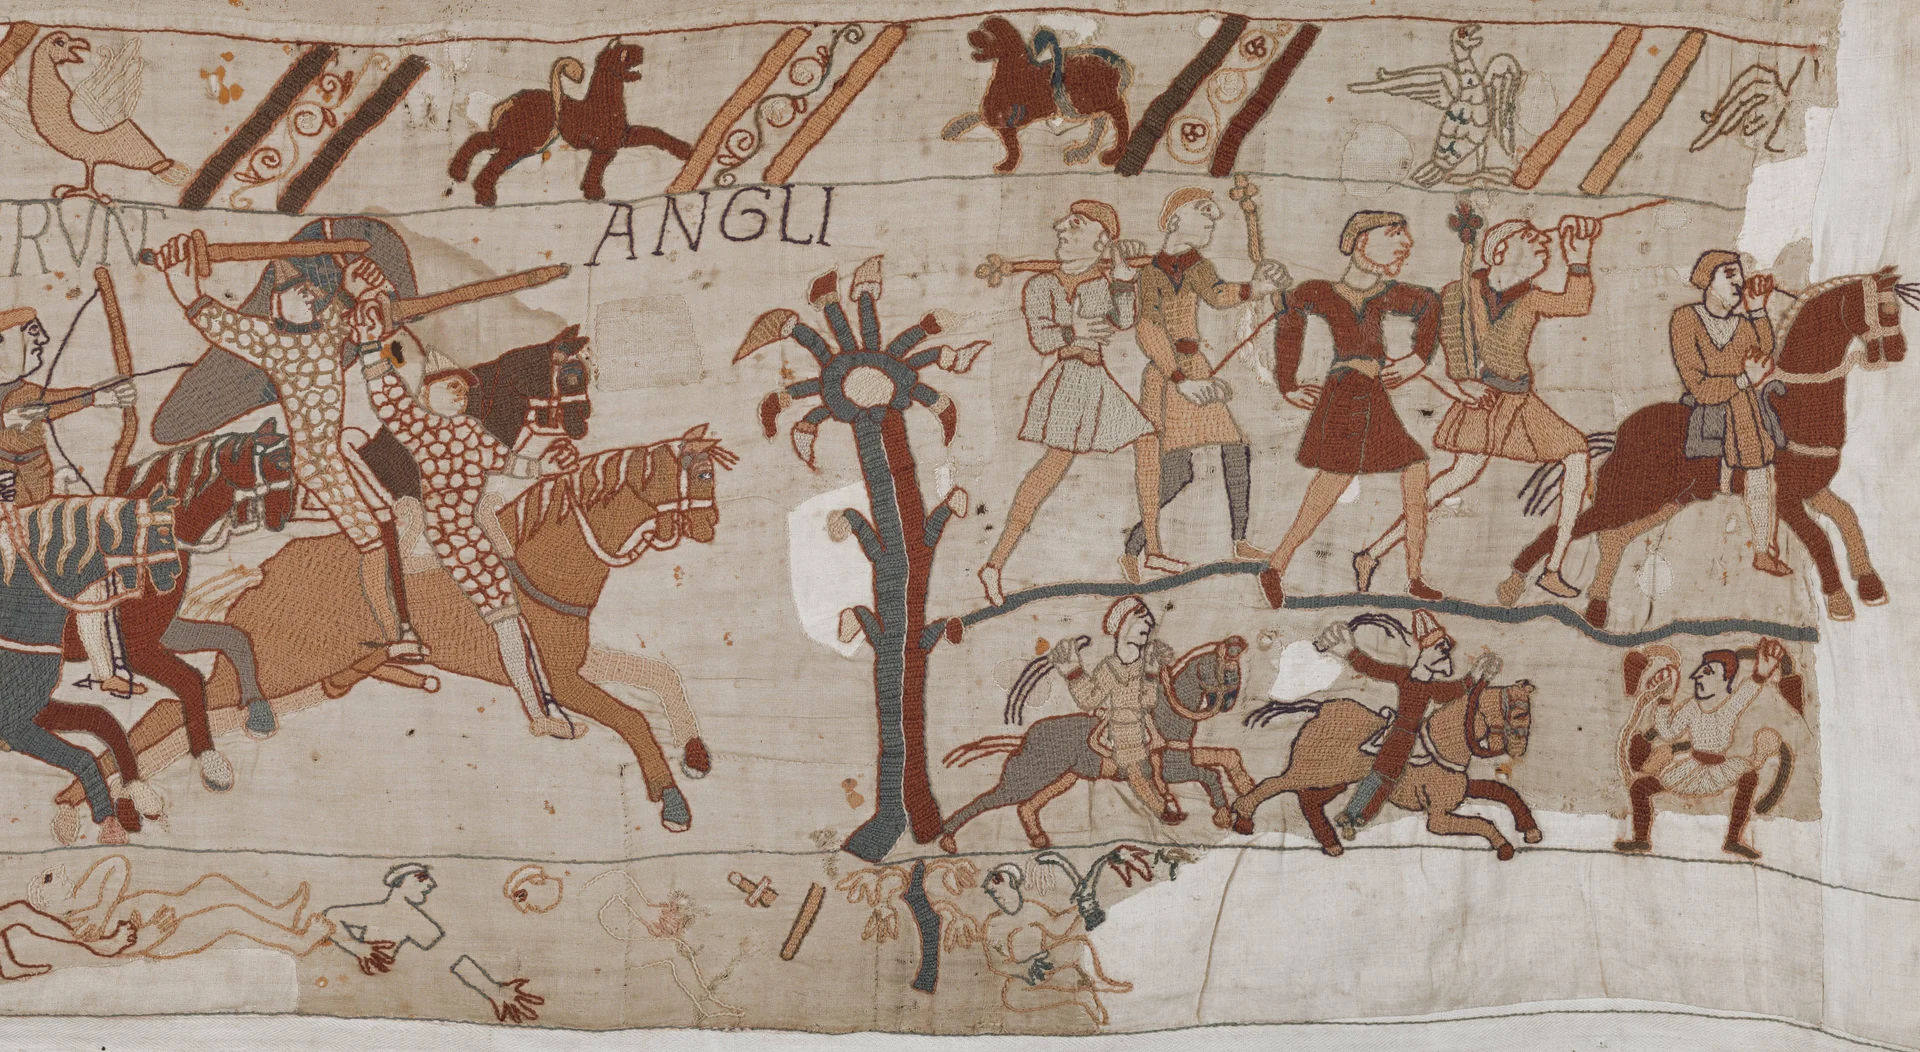 SCENE 21
The Flight of the Saxons & The Lost Ending
The surviving final section of the millennium-old embroidery: Saxon fighters flee into the forests of the Weald...
VIEW THE NOTICE